Setting up the Corne Split Ergonomic Keyboard
This week I’d like to take a break from talking about code and Splendid Labz — and instead focus on some tooling and ergonomics.
If you’ve been hanging out with me for some time, you would have known that I have a Moonlander keyboard.
I’m pretty happy with it because it mitigated my carpal tunnel problems for a long long time. (Here’s why it works).
Preventing/reducing carpal tunnel problems is important for us developers because, well, we use our hands to work. If we get carpal tunnel, how are we gonna work?
Moving on, I’ve found myself working outdoors from a cafe much more recently. Lugging the huge Moonlander around was a chore. But using the default Mac keyboard brought back carpal tunnel problems…
After months of deliberation (and struggling with painful hands), I finally decided to get myself a smaller ergonomic keyboard called Corne. (It’s corny, ha! 😄).
I chose this keyboard for two reasons:
- It’s open source!
- It’s relatively inexpensive compared to Moonlander and other options (less than US$100 when similar options cost around US$300)
I’m pretty happy with this keyboard now. Here’s my new setup when I work from a cafe!
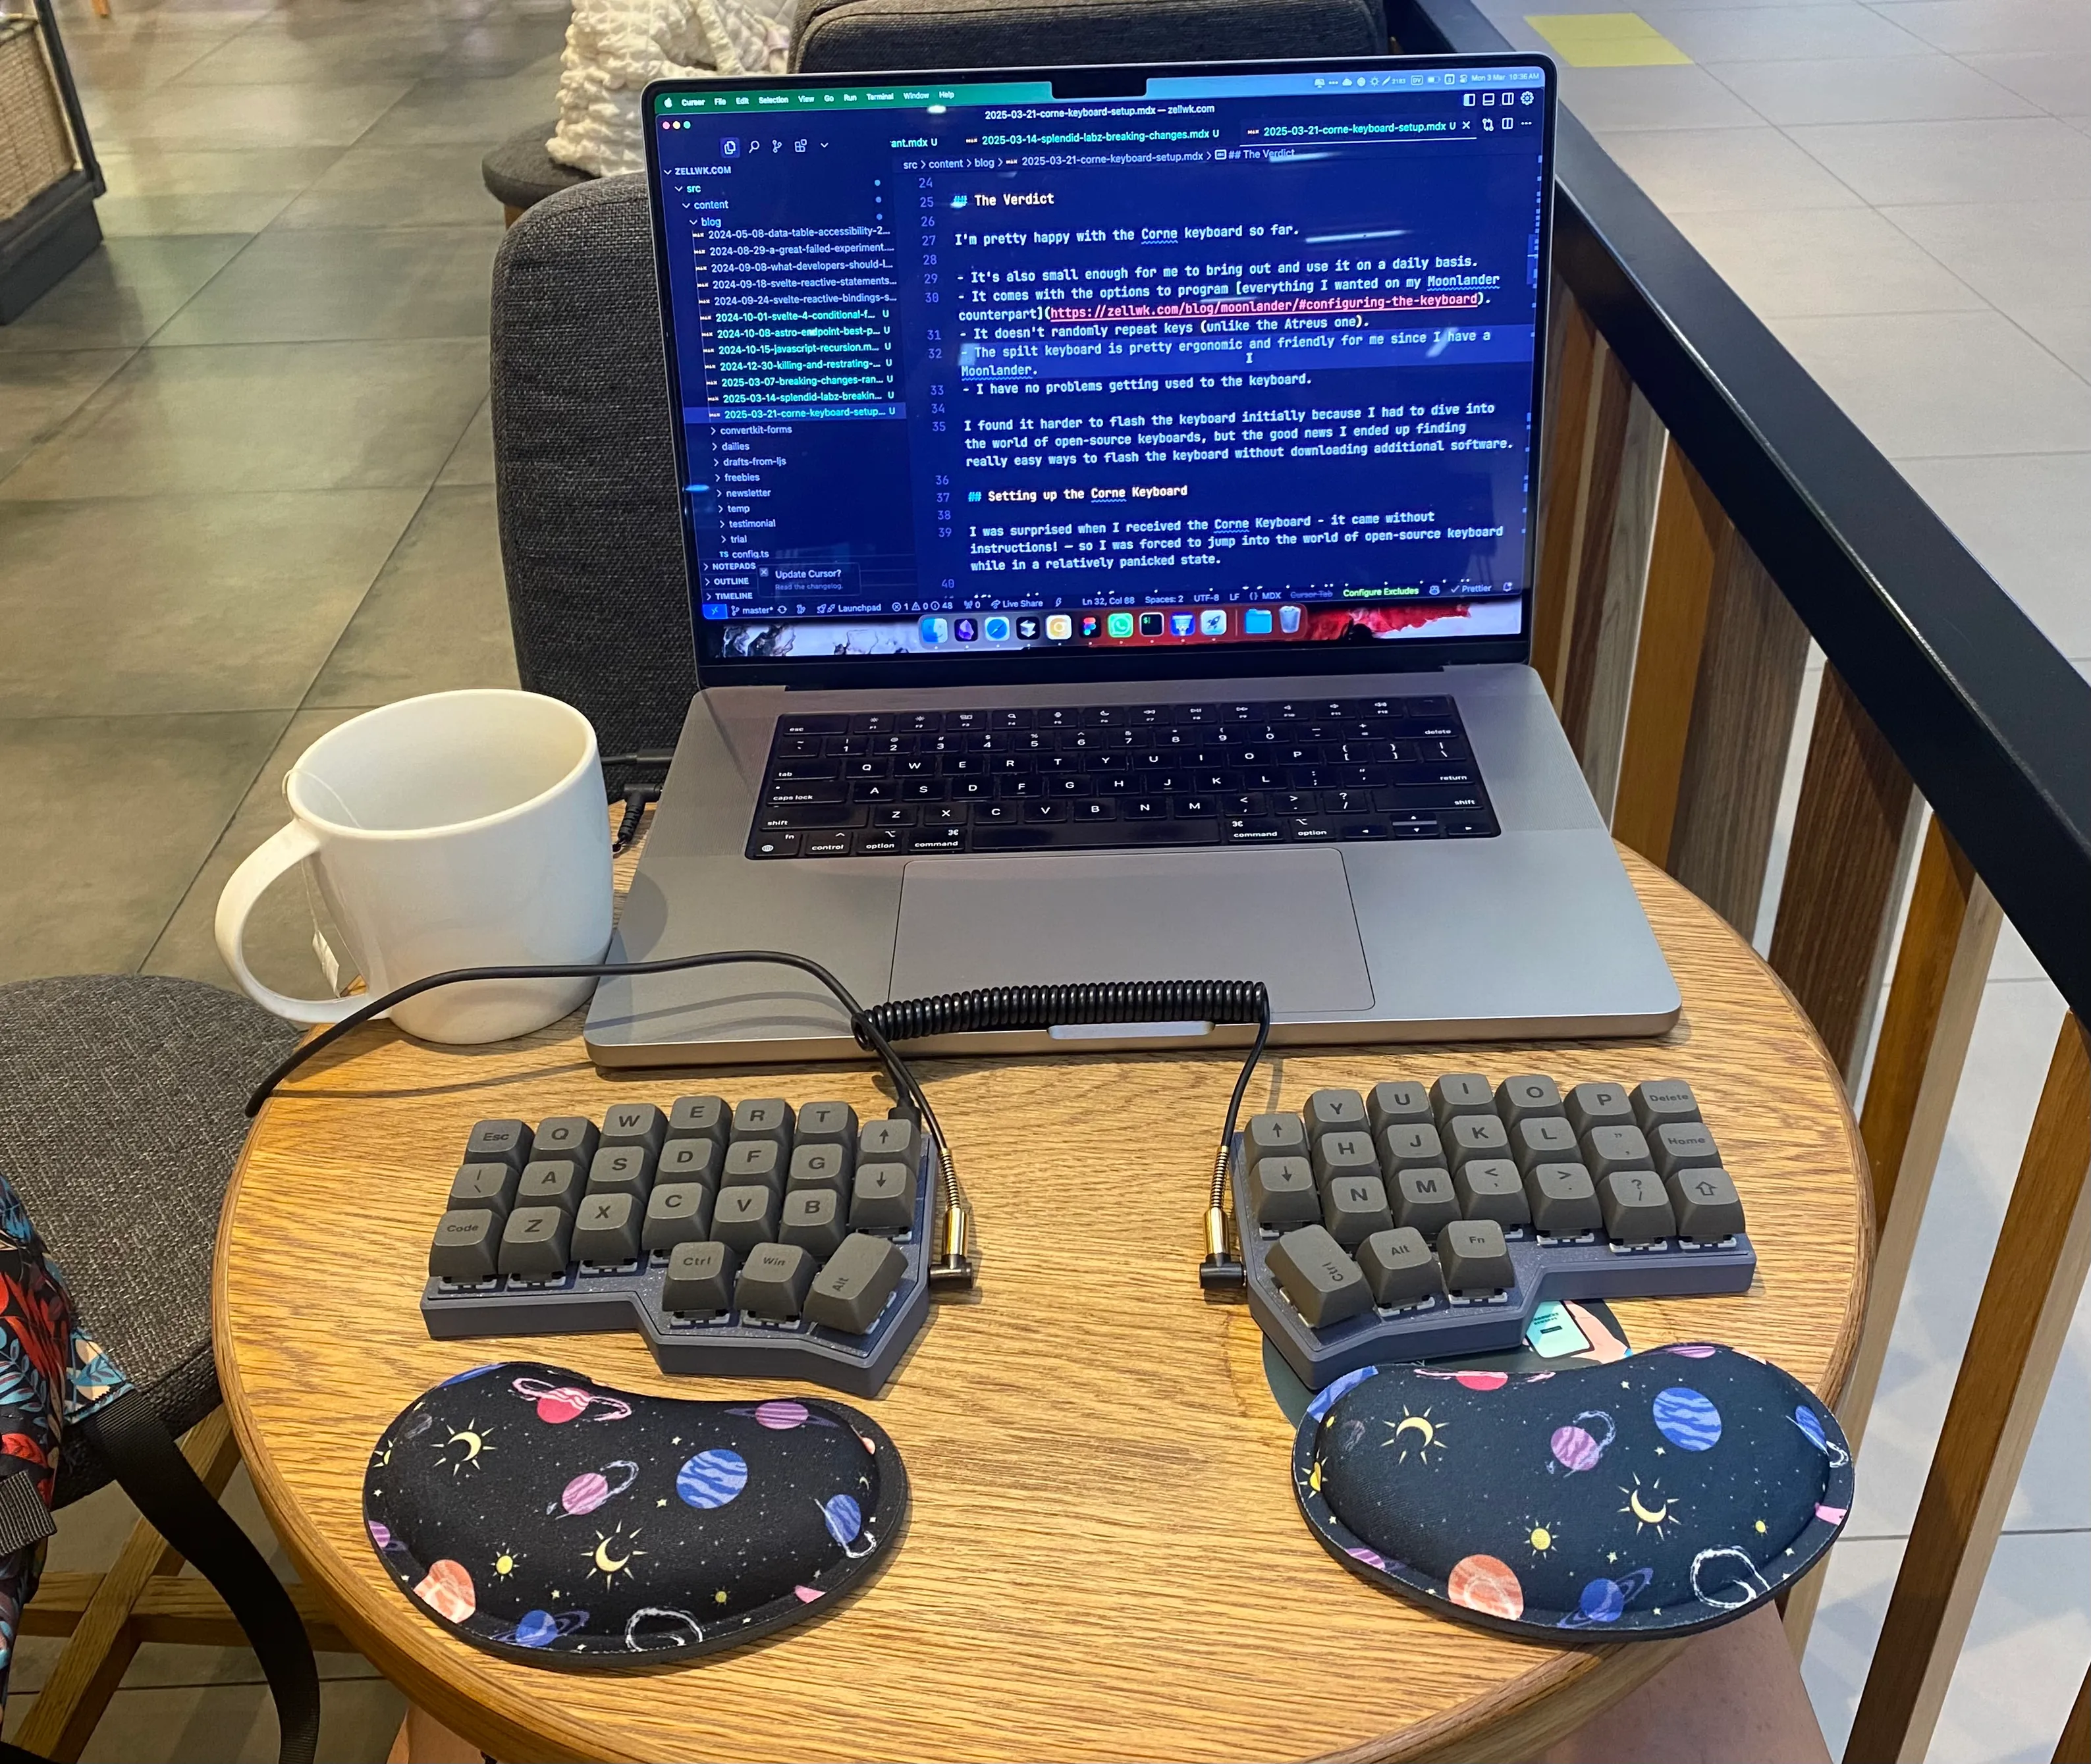
Using the core keyboard (and two wrist rests) at Starbucks
Today, I wanna share the process I used to set up this keyboard.
Setting up a Corne Keyboard v4
It’ll help you make things easier if you decide to invest in a corny keyboard for your hands and body. Hope this helps you out!
Stay awesome,
Zell