Customised (and effective) Visual Studio Code keyboard shortcuts for Mac and Windows (Part 2)
I talked about the key bindings I used to switch between tabs and panels last week. This week, I want to share some wicked shortcuts I use for the Integrated Terminal.
They’re really sweet. 😘.
I didn’t like the Integrated Terminal previously
I have to be honest.
I didn’t like the Integrated Terminal in Visual Studio Code for a long time. I felt it was too small; there wasn’t enough space for code and the terminal to coexist. I know this sounds funny considering I use a 15” Mac. It sounds even funnier I say I use a 27” display…
But space wasn’t the real problem.
The real problem was because Mac’s shortcut for accessing the Integrated Terminal (Control + `) wasn’t accessible enough. Once I changed this shortcut, BOOM; I rarely use the integrated terminal anymore.
Let’s start by toggling the integrated terminal.
Toggling the integrated terminal
This keyboard shortcut opens and closes the Integrated Terminal. It’s really important!
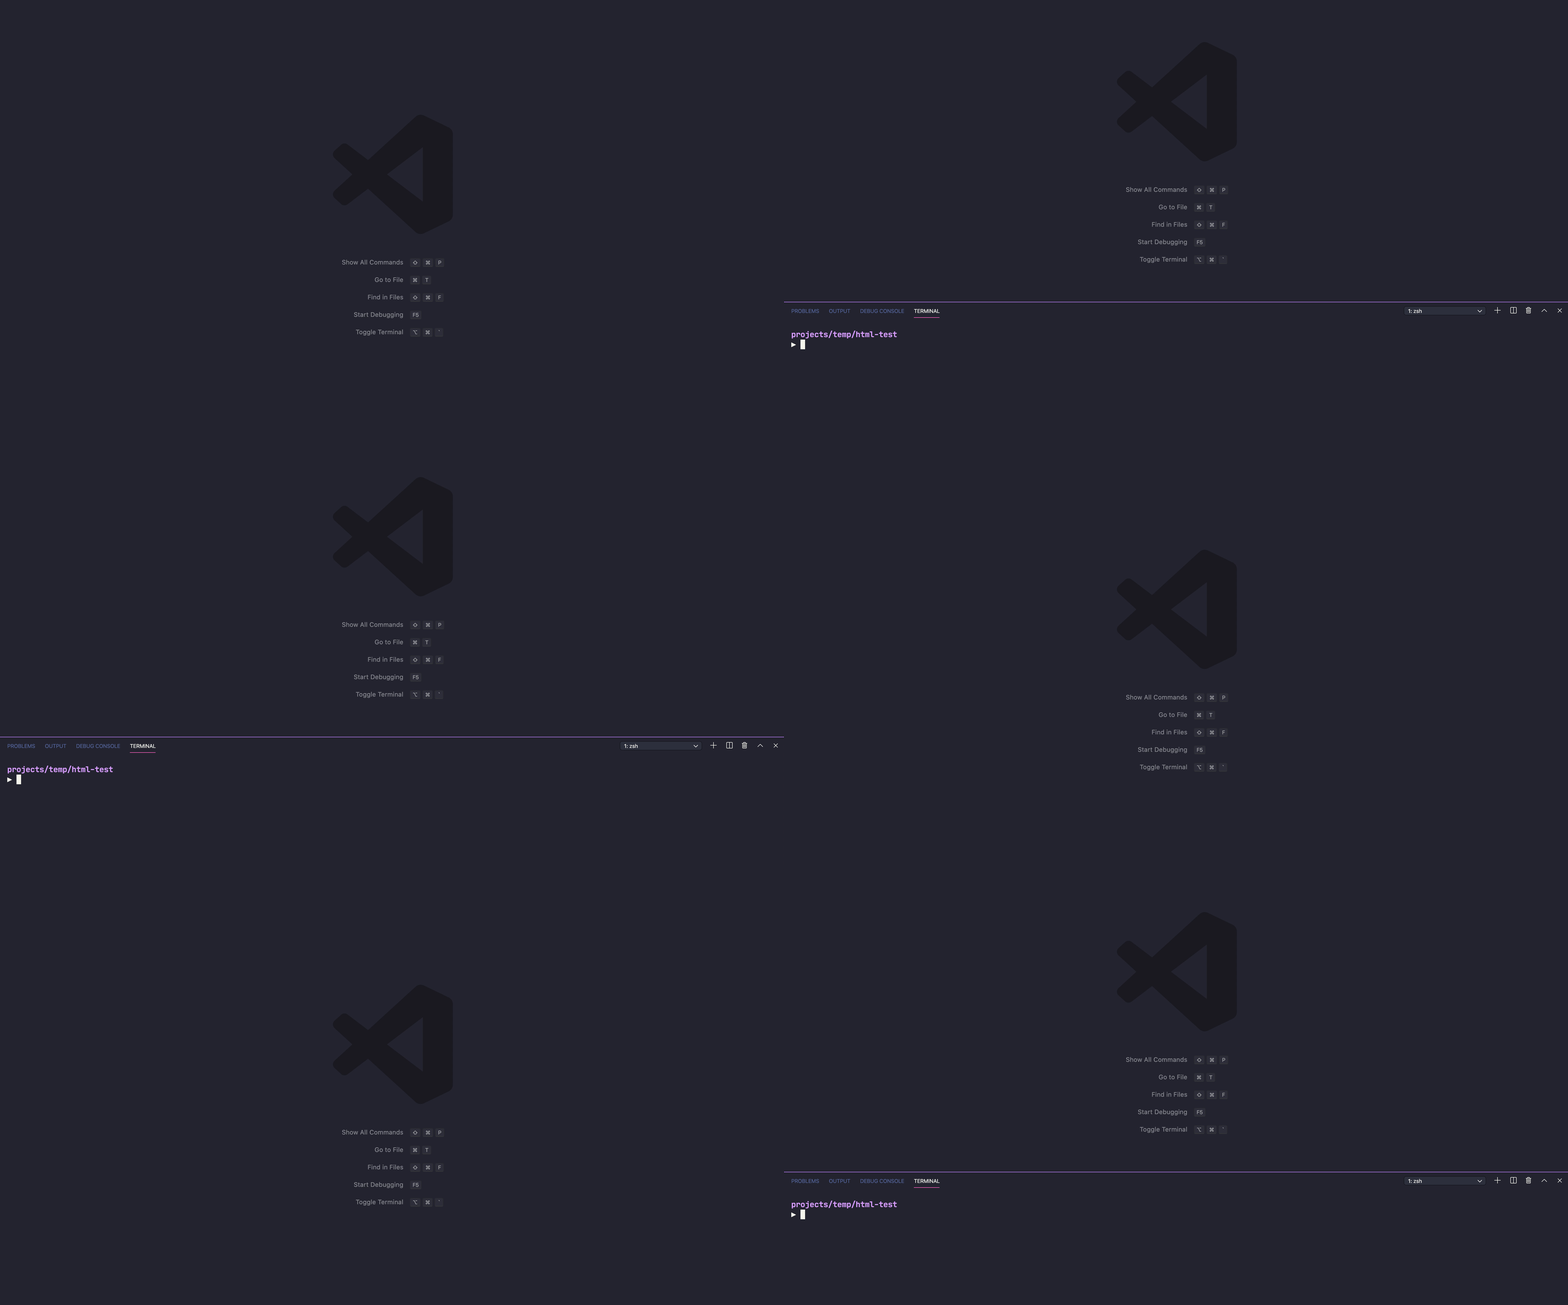
The default shortcut is:
- Mac:
Control+` - Windows:
Ctrl+`
I changed it to:
- Mac:
Command+Option+` - Windows:
Ctrl+Alt+`
How to change:
Search for “Integrated Terminal” in the keyboard shortcuts panel. You should see an option to toggle the integrated terminal.

On Mac, you can’t set Command + Option + ` through this panel. (Mac Visual Studio Code won’t register ` with Command or Option keys). You must set it through the JSON file, so open up keybindings.json and insert the following entry.
// Toggles terminal with Command + Option + `{ "key": "alt+cmd+`", "command": "workbench.action.terminal.toggleTerminal"}For Windows, set Ctrl + Alt + ` via the keyboard shortcut panel.
Why this change?
I fell in love with the Integrated Terminal when I was forced to use Visual Studio Code on Windows.
The shortcut for opening and closing the Integrated Terminal on Windows (Ctrl + `) was extremely accessible to me. This is because I switched the positions of Ctrl and Alt. My left thumb is on the spacebar most of the time. Ctrl is next right next to it.
(Here’s how I switched Ctrl and Alt)
I love it so much, I wanted to toggle the Integrated Terminal on Mac with Command + `. But I can’t do this because Mac uses Command + ` to switch windows of the same application.
So I settled with using Command + Option + `. It’s still easy to use because I can press Command and Option together with my thumb.
On Windows, my Alt key is next to the Ctrl key. I changed the shortcut to Ctrl + Alt to keep it consistent with the Mac version.
Splitting the terminal
We can split the terminal into two with the Split Terminal action.
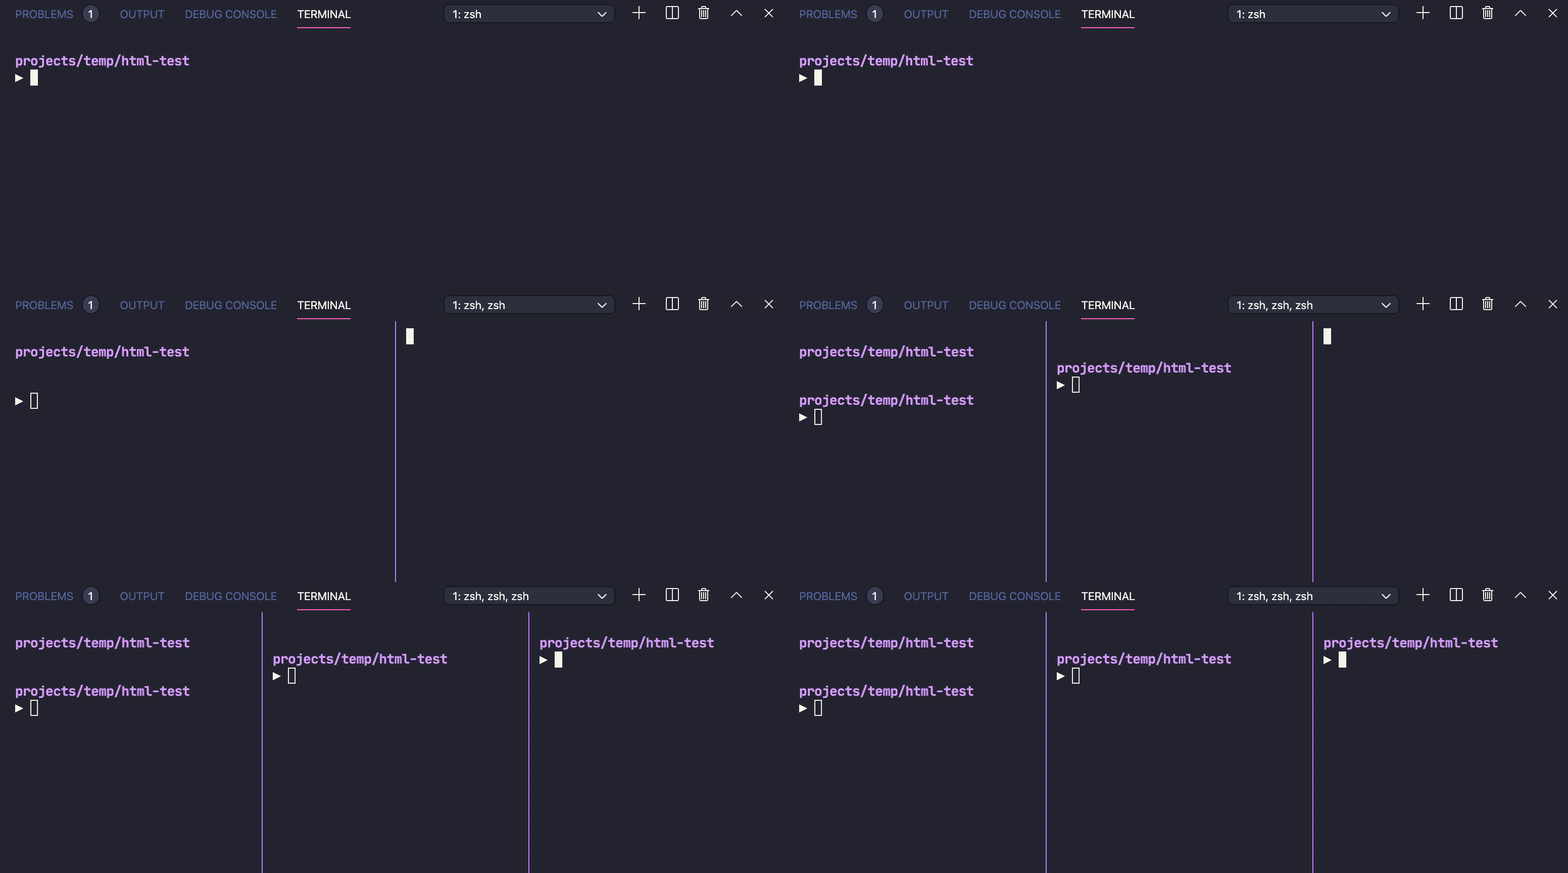
The default shortcuts are:
- Mac:
Command+\\Control+Shift+5
- Windows:
Ctrl+Shift+S
I changed them to:
- Mac:
Command+Option+Control+` - Windows:
Ctrl+Alt+Win+`
How to change:
Search for Split Terminal in Visual Studio Code’s keyboard shortcuts panel.
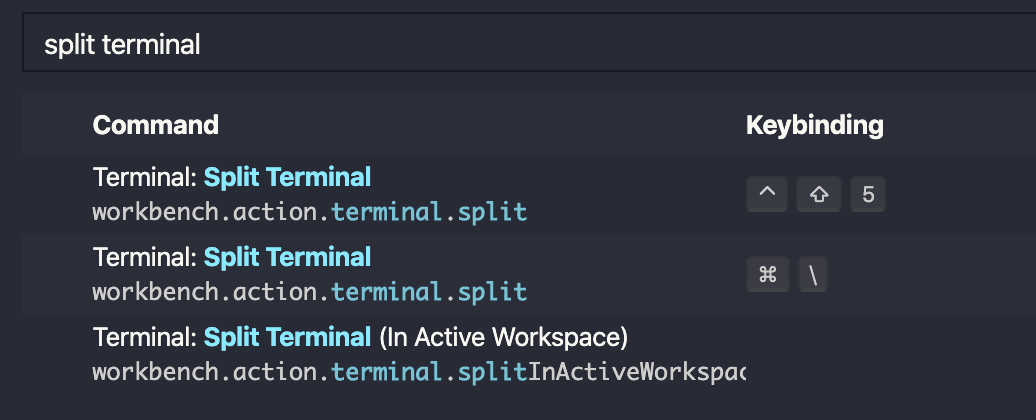
Why this change?
I already toggle the terminal with Command + Option + `. I wanted this shortcut to be a slight variant of the toggle terminal shortcut.
The easiest way, I thought, would be to add another modifier. Here, I used the Control modifier for Mac (or Win for Windows).
I added another shortcut: Command + D because iTerm2 uses that
shortcut. I’m used to it.
Creating terminals
We can create a new terminal with the New Integrated Terminal action.
When you create a new terminal, a new window replaces the old one. You can switch between terminals by clicking on the “Switch terminal” box at the top-right corner.
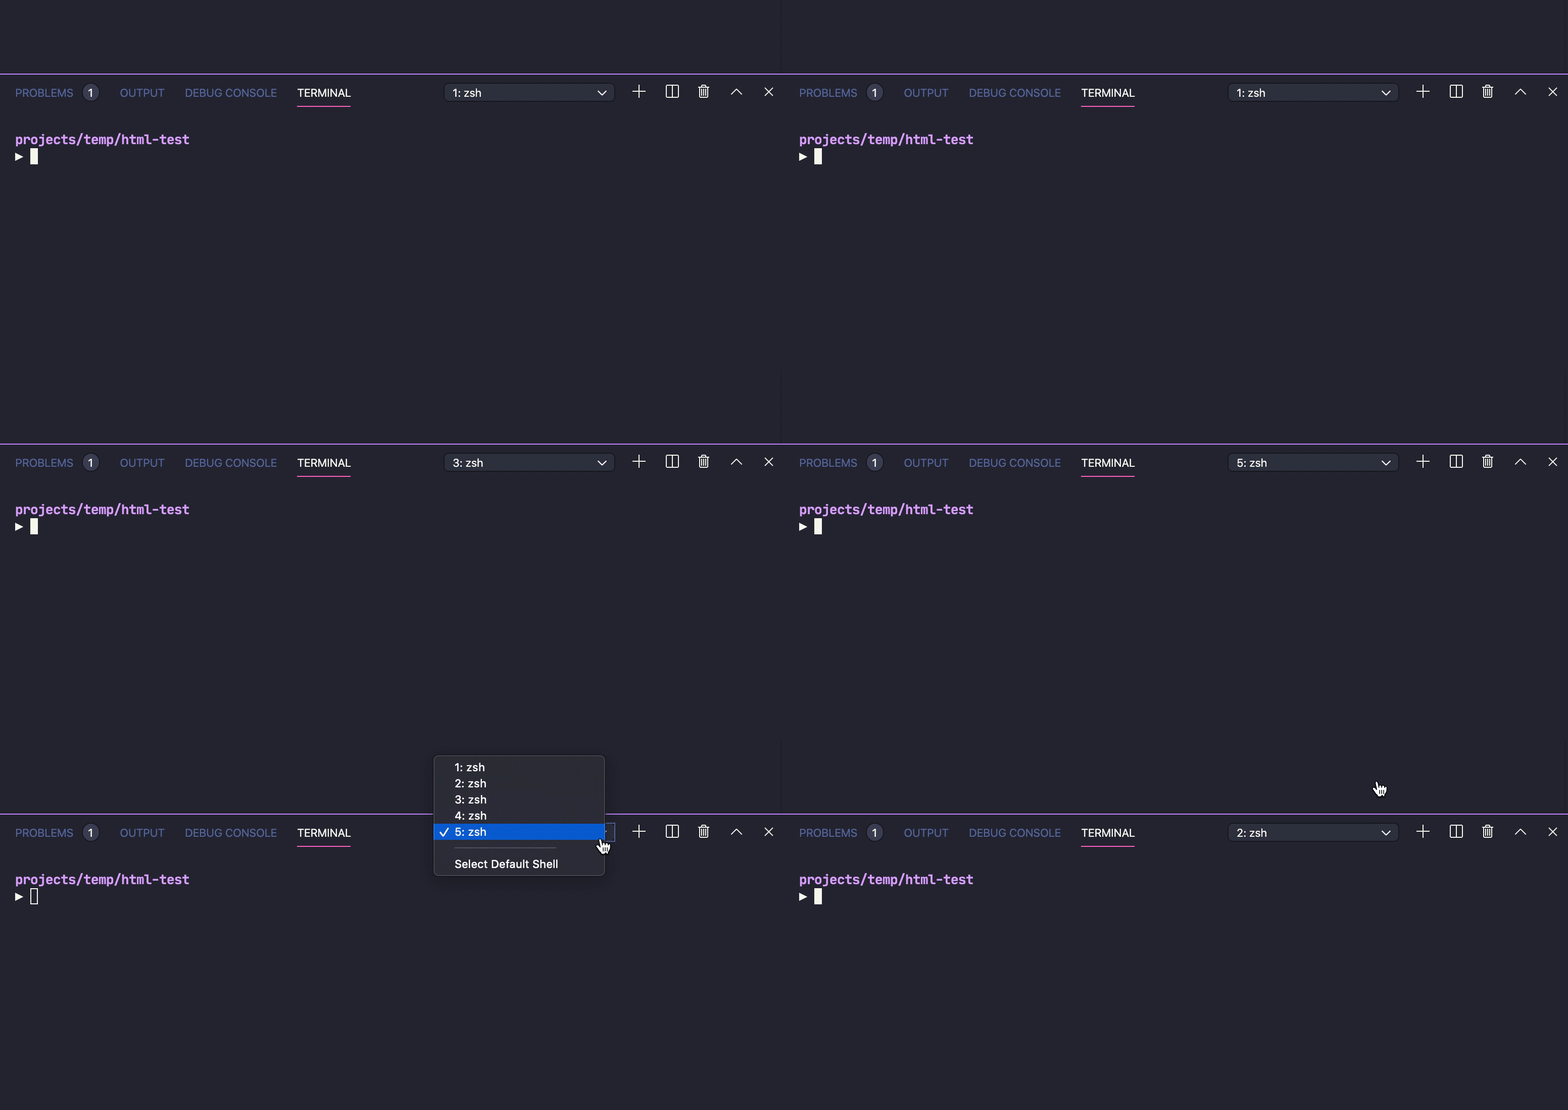
The default shortcuts are:
- Mac:
Control+Shift+` - Windows:
Ctrl+Shift+`
I changed them to:
- Mac:
Command+Alt+Control+Shift+` - Windows:
Ctrl+Alt+Win+Shift+`
How to change:
Search for New Integrated Terminal in Visual Studio Code’s keyboard shortcuts panel.

Why this change?
I already used these combinations so far:
- New Integrated Terminal:
Command+Alt+` - Split Terminal:
Command+Alt+Control+`
It’s easy for me to add Shift to the mix. So I did it.
Both Split terminal and New Integrated Terminal are easy to remember. I simply have to press 3 or 4 modifiers on the left side :)
I prefer to split the terminal over creating a new one. That’s why Split Terminal has an easier keyboard shortcut.
Focusing on a terminal
I wanted a shortcut that lets me focus on a terminal window quickly. The best one I found is terminal.focusAtIndexNumber.
This shortcut lets me focus on both split terminals and new terminals.
The default shortcut is:
There are no default shortcuts for this feature 😢.
I changed it to:
- Mac:
Command+Option+ Number key - Windows:
Ctrl+Alt+ Number key
How to change:
Look for “focus terminal at index” in the keyboard shortcuts panel. You should see this.

Why this change?
If you remember from the previous article, here are the shortcuts I used:
- Switch Tabs:
Command+ Number key - Switch code panels:
Option+ Number key
These two shortcuts help me focus my cursor on a specific tab. It makes sense to use a similar convention for focusing on terminals. That’s why I settled with Command + Option + Number key.
For Windows, you know my answer by now. My Ctrl is in the same position as Command, and my Alt is in the name position as Option. By setting Ctrl + Alt + Number key, I’m essentially pressing the same thing on both systems.
Kill the active terminal
When you can create terminals, you also need to be able to close them. This shortcut closes a terminal window. (It doesn’t matter whether we’re focusing on a split terminal or a new terminal).
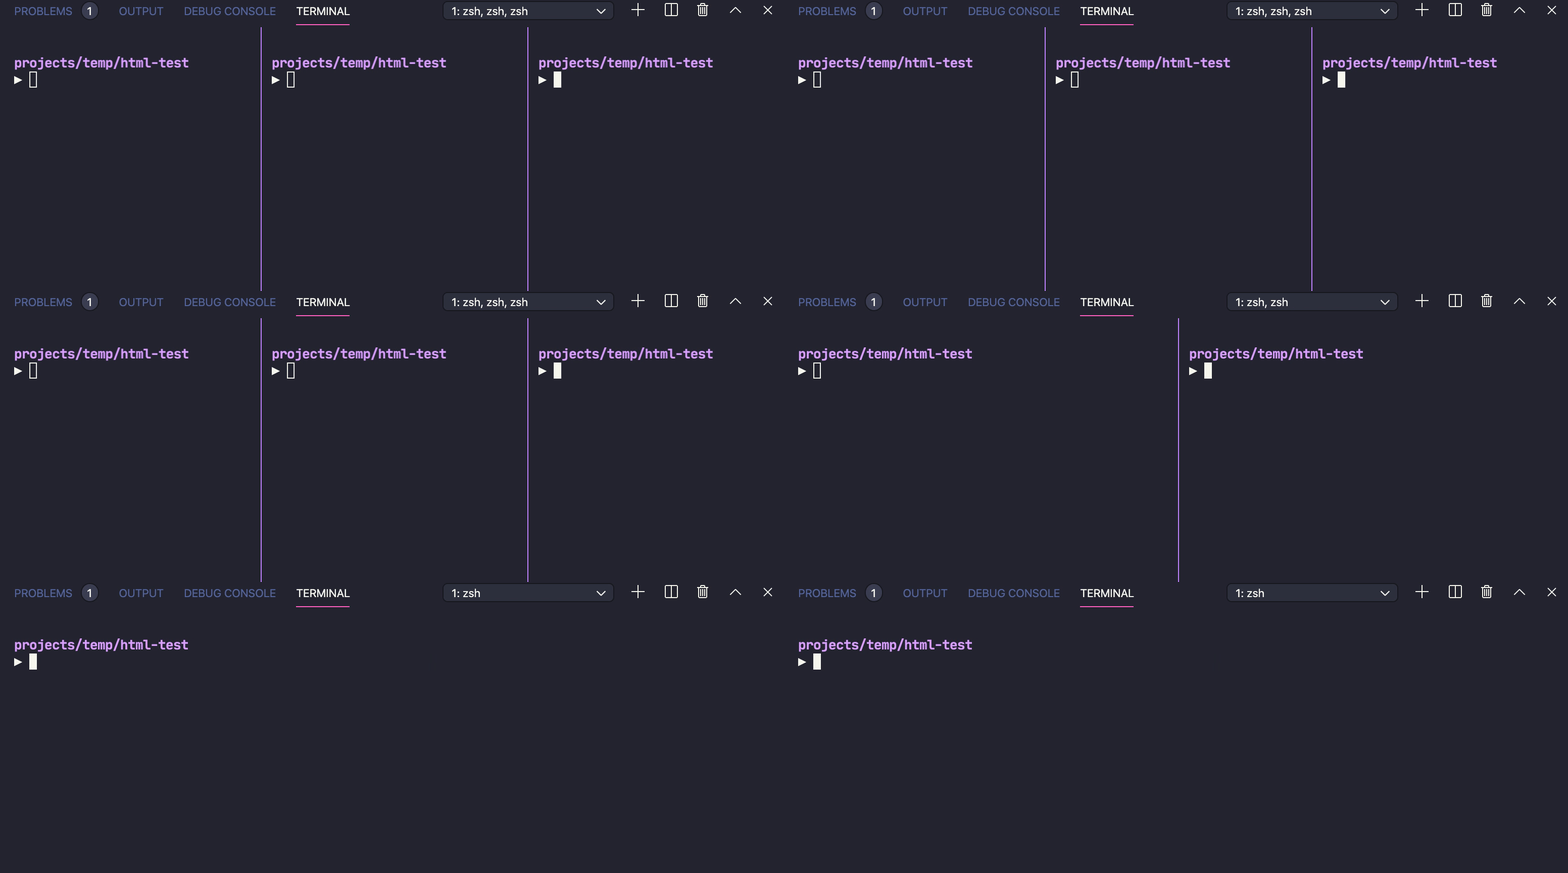
The default shortcut is:
There are no default shortcuts: 😢.
I changed it to:
- Mac:
Command+W - Windows:
Ctrl+W
How to change:
Search for “kill terminal” in the keyboard shortcuts panel and change it to the shortcut I mentioned above.

There’s one more step.
We only want to kill a terminal when the terminal has focus. It doesn’t make sense to kill a terminal otherwise. We can restrict this shortcut with the when expression.
After you created a key binding, right-click the property and select “Change when expression”.
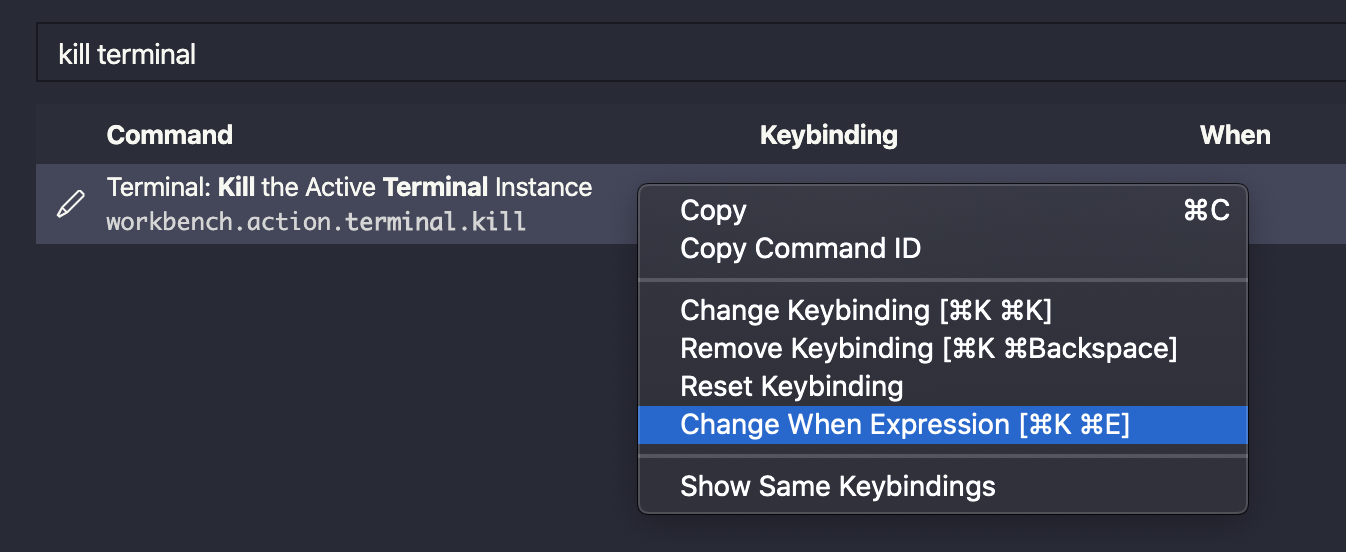
Enter terminalFocus into the textbox.

Why this change?
On Mac, we use Command + W to close a tab. This shortcut let us close BOTH code tabs and panels. It makes sense to the same keyboard shortcut to kill a terminal window!
For Windows, I use Ctrl + W so I’m pressing the same thing.
Positioning Workspace and Terminal side by side
I felt the Integrated Terminal doesn’t have enough space, remember? With Move Panel, I can position my terminal and code editors side by side to get more vertical space.
I can even make Visual Studio Code look like Codepen if I wanted to!
(I expanded the terminal with another shortcut. You’ll learn this later).
You can position the terminal panel in three ways:
- Left
- Right
- Bottom
The default shortcut is:
There are no default shortcuts 😢
I changed it to:
- Mac:
Command+Option+Control+ Arrow key - Windows:
Ctrl+Alt+Win+ Arrow key
How to change:
Search for “Move Panel” in Visual Studio Code’s keyboard shortcuts panel. You should see this:

Change them to the shortcuts I mentioned above.
Why this change?
I already use Command + Option + Control for work on the Integrated Terminal. It doesn’t hurt to add one more keyboard shortcut into this memory hook!
Besides, I can’t use Command + Option + Arrow keys. They’re used to move code editors into different panels (which is more important).
I also don’t want to use Command + Control + Arrow keys. They’re used for something else. (See the next section).
Changing terminal panel size
Visual Studio Code lets you change the size of your terminal panel with a keyboard shortcut. That’s what I used to resize the terminal in the video above 👆.
**The default shortcut: **
- Mac:
- Resize Up:
Command+Control+Up - Resize Down:
Command+Control+Down - Resize Left:
Command+Control+Left - Resize Right:
Command+Control+Right
- Resize Up:
- Windows: No default shortcut 😢
I changed it to:
- Mac: I kept the defaults
- Windows: I didn’t create a shortcut for this 😢
Why?
I thought of using Ctrl + Win + Arrow keys on Windows to resize terminals. Unfortunately, Win + Arrow keys make Windows resize the entire application. I couldn’t think of a better shortcut, so I left it untouched.
Maximizing the terminal
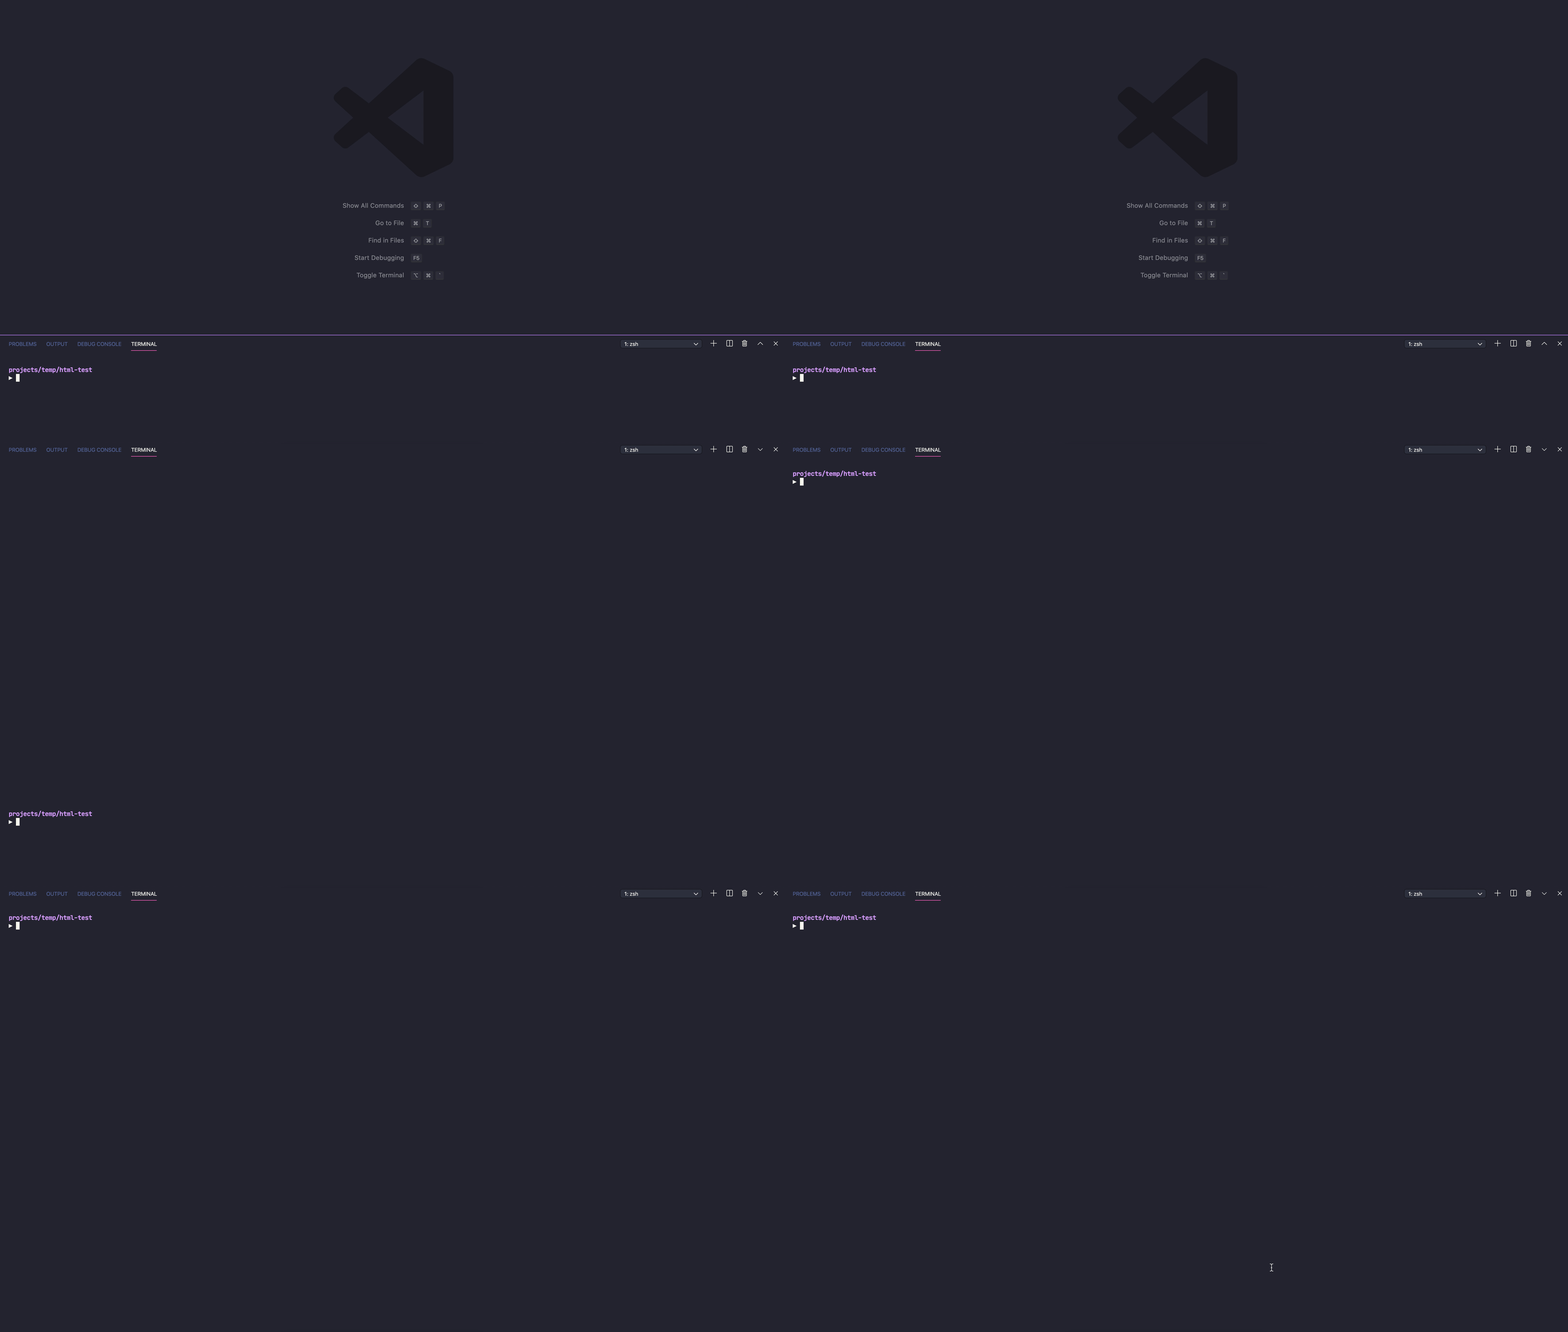
Here’s one last tip for the terminal. You can maximise the terminal if you don’t need the code editor. To do this, you can click the “Up chevron” icon on a terminal window.

Here’s what it does:
The default shortcut is
There are no default shortcuts 😢
I changed it to:
- Mac:
Command+Control+` - Windows:
Ctrl+Win+`
How to change:
Look for View maximise panel in the keyboard shortcuts panel.

Why this change?
I already use ` lots of shortcuts regarding the terminal:
- Toggle terminal:
Command+Option+` - Split terminal:
Command+Option+Control` - Create new terminal:
Command+Option+Control+Shift`
Creating another combination with a memory hook to ` is easier than finding a brand new key to use.
That’s it for today. I’ll share more shortcuts next week.
