Setting up a Corne Keyboard v4
I finally got myself a smaller split ergonomic keyboard after pondering for a long period.
This time, I chose to get a Corne v4 keyboard because it was relatively inexpensive compared to most other options. It costs less than $100 while other notably-named options hovered around $350 and above.
In this article, I want to share with you why I purchased this keyboard, how I feel about the purchase so far, and how to setup this keyboard easily.
Why I purchased a Corne Keyboard
I already have a larger keyboard called the Moonlander by ZSA. It’s great, but it’s way too bulky to carry around.
These days, I often find myself working in different places — sometimes a cafe, sometimes in a different part of the house — and I found it a hassle to move my Moonlander around.
Previously, I purchased an Atreus from Keyboardio for a similar purpose. But I stopped using it because it had a weird key-repeat problem. (Imagine pressing one backspace key and a random number of backspace keys gets fired…). Plus, the Atreus was too small and it wasn’t ergonimic for me. (My hands hurt while typing on it) .
I eventually chose Corne because it was relatively well-established as an open-source keyboard. (By the way, it’s somewhat fun to call it the corny keyboard 🤭).
The Verdict
I’m pretty happy with the Corne keyboard so far.
- It’s also small enough for me to bring out and use it on a daily basis.
- It comes with the options to program everything I wanted on my Moonlander counterpart.
- It doesn’t randomly repeat keys (unlike the Atreus one).
- The spilt keyboard is pretty ergonomic and friendly for me since I have a Moonlander.
- I have no problems getting used to the keyboard.
I found it harder to flash the keyboard initially because I had to dive into the world of open-source keyboards, but the good news I ended up finding really easy ways to flash the keyboard without downloading additional software.
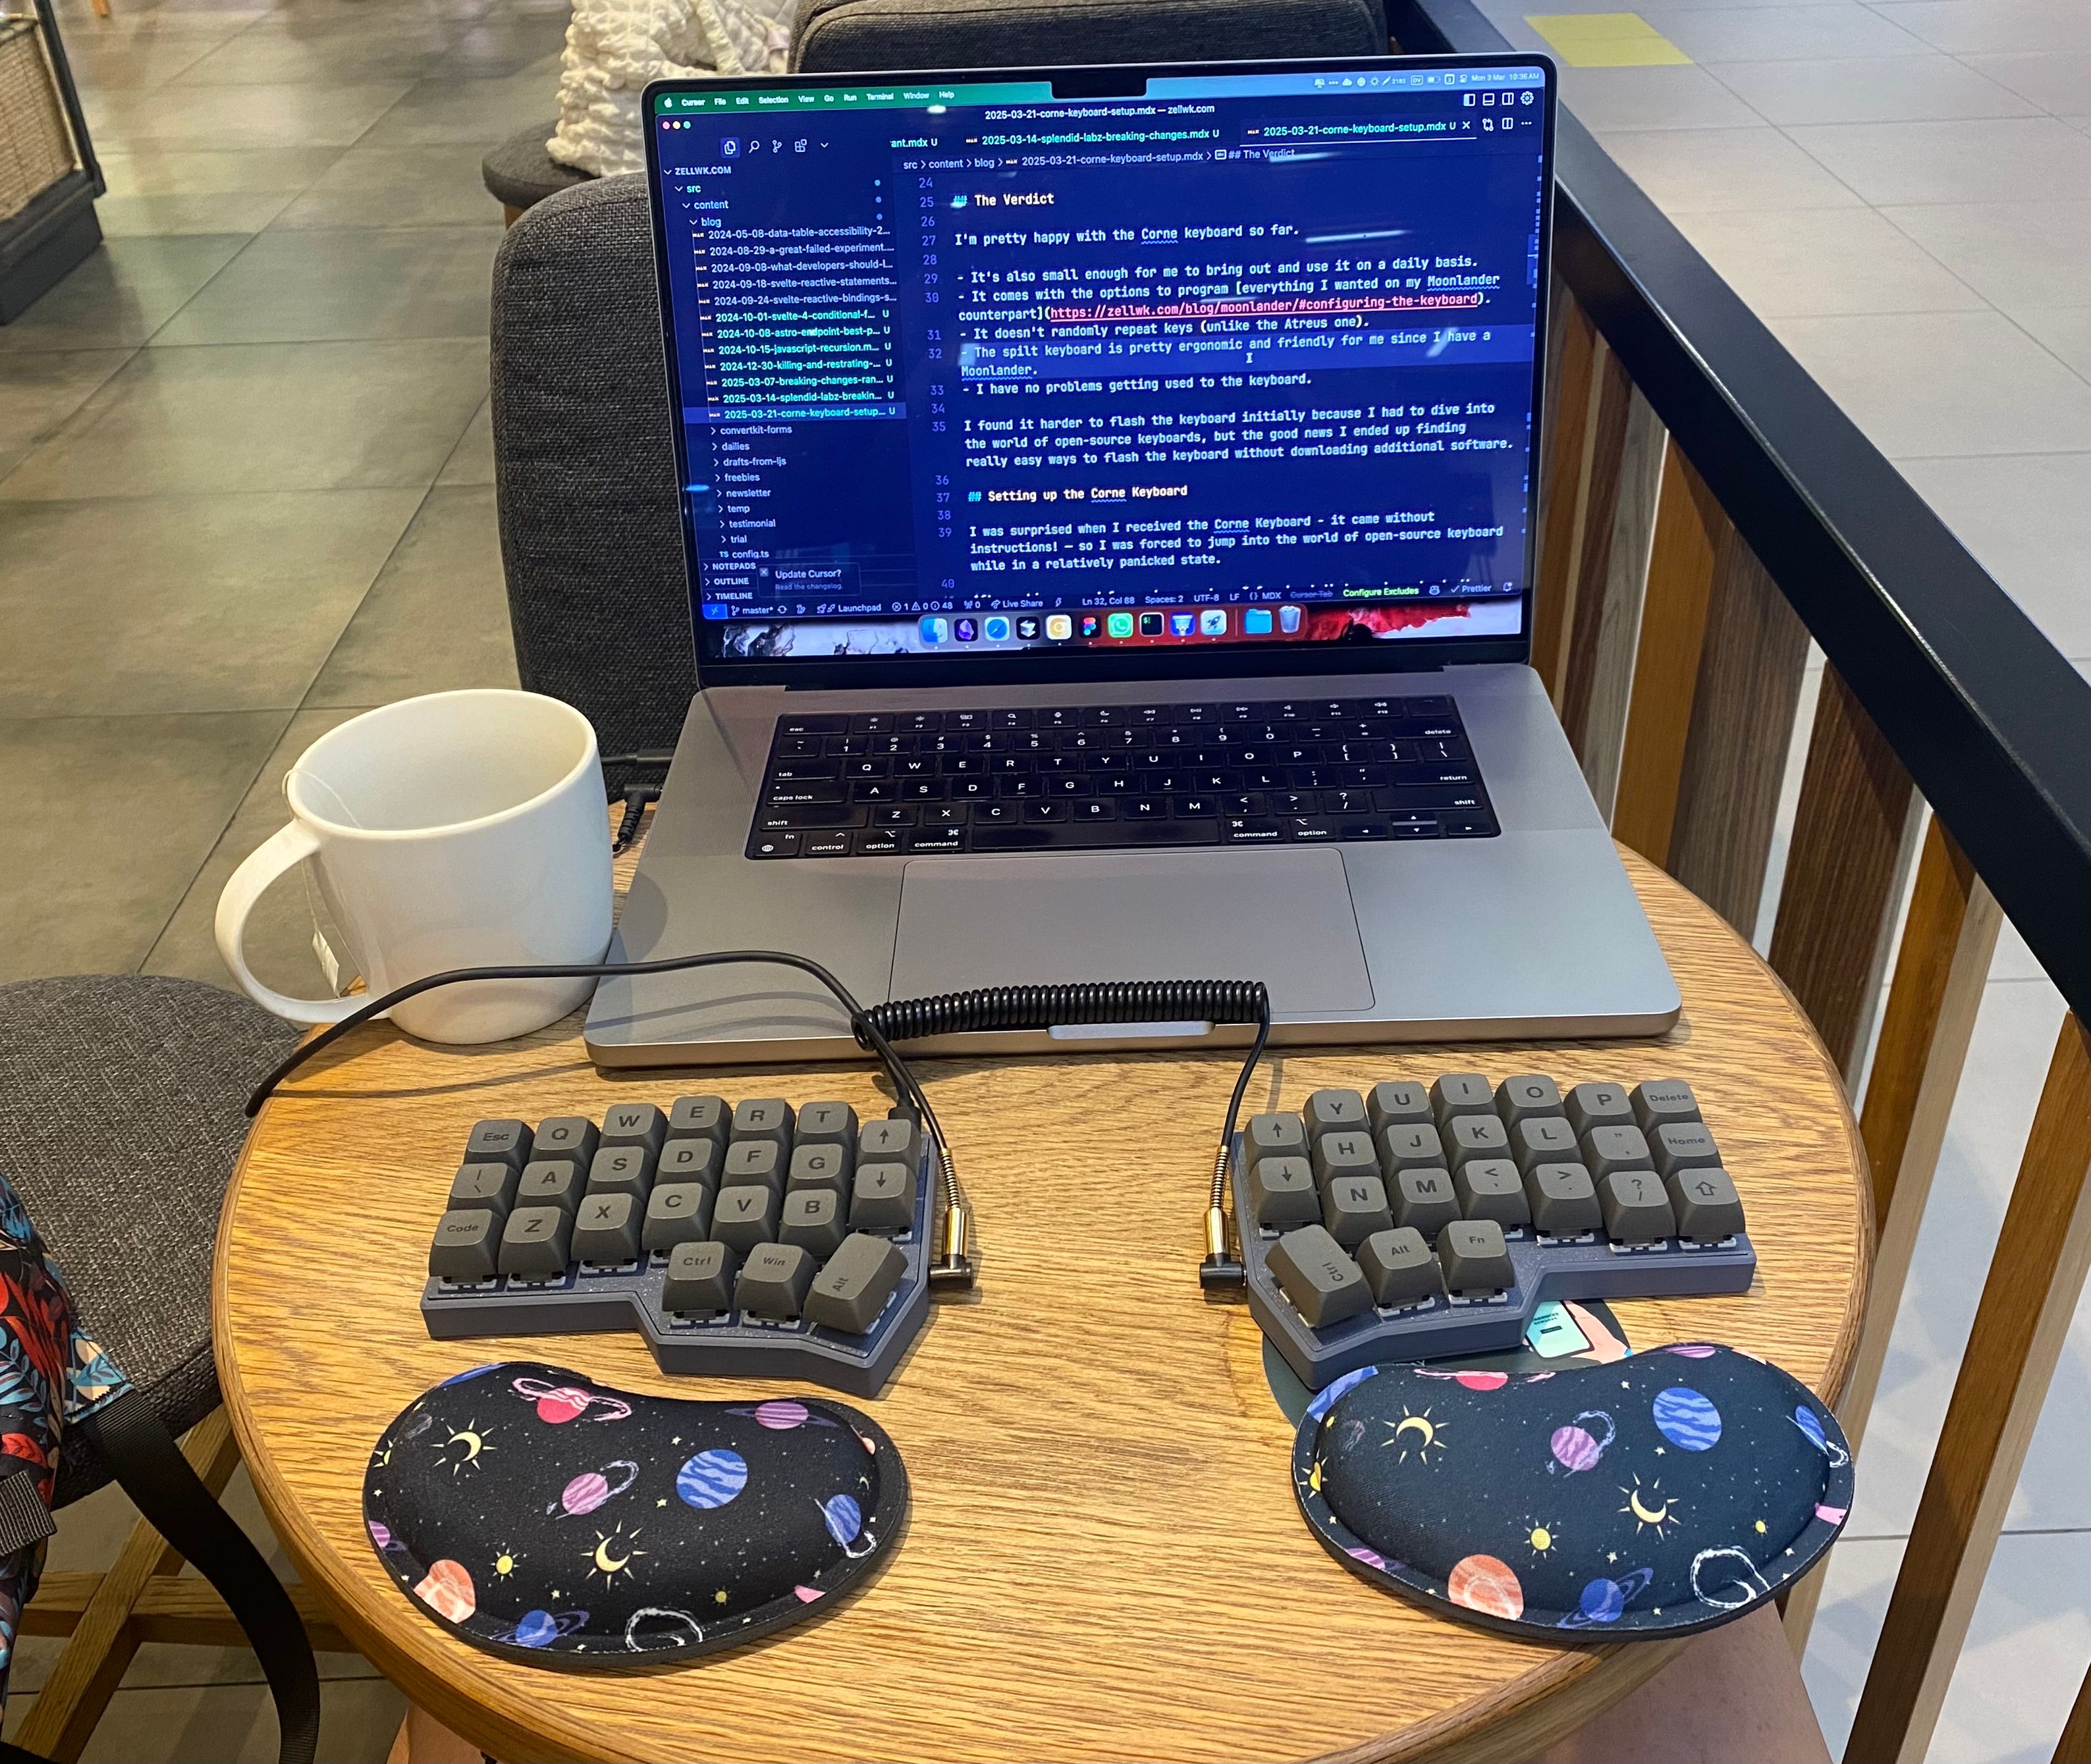
Here’s my setup when I work from a cafe now.

Setting up the Corne Keyboard
I was surprised when I received the Corne Keyboard - it came without instructions! — so I was forced to jump into the world of open-source keyboard while in a relatively panicked state.
After poking around for an hour or two, I found out that you have to do these three steps in order to enjoy your new Corne Keyboard.
- Download the correct Firmware
- Upgrade the Firmware
- Configure your Keyboard Mapping
Downloading The Correct Firmware
Your first step is to ensure your keyboard has with the correct firmware. To do this, you can find the firmware from Corne’s repository.
Here’s the page you’re looking for if you purchased a v4 keyboard like me.
There are two versions for you to choose from — 4.0 or 4.1. If you know which is the correct version for your keyboard, just download that one. But if you don’t, you can download them both.
Figuring out which firmware to use
You can dismantle your keyboard and look at the kit to tell which version you have, but that’s not necessary.
There’s a better solution — just download both firmwares and flash both of them. The one that works is the version you’re going to use. 😄
So your next step is to upgrade your keyboard’s firmware.
Upgrading Your Keyboard Firmware
You need to upgrade the firmware for the left and right sides separately, so make sure they are not connected first.
To upgrade your firmware, you need to press and hold the boot key while connecting that part of the keyboard to your computer.
- Left keyboard’s boot key is Q
- Right keyboard’s boot key is P
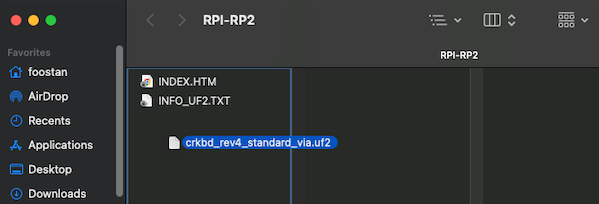
After connecting, you should be able to see a RPI-PR2 device connected to your computer. (Mine showed up as untitled for some unknown reason though).

To upgrade the firmware, you just have to drag the firmware you’re downloaded into the device. (No need to change the firmware’s file name).
Repeat the same steps for the other side.
When the firmware for both sides is upgraded, connect the cables between them and make sure you can use both sides normally. If you can, move onto the next step. Otherwise, try the other firmware version you’ve downloaded.
Mapping Your Keys
If this is your first foray into the open-source keyboard world, you may become dizzy with the vast amount of options available for you to flash your keyboard. (And they all look so complex too!).
Don’t worry.
The good news is you don’t have to download any software or mess around with your Command Line to flash the Corne keyboard.
The easiest way to map the keys for your Corne v4 keyboard is through these two softwares:
To use them, you can:
- Open the above links with Chrome
- Connect your keyboard with the software (according to the instructions)
- Done
I recommend using both softwares — switching between them as you see fit — because they both excel in some ways and suck in others.
To switch between Via and Remap, just change your Chrome tab to the one you want and reconnect your keyboard.
Via
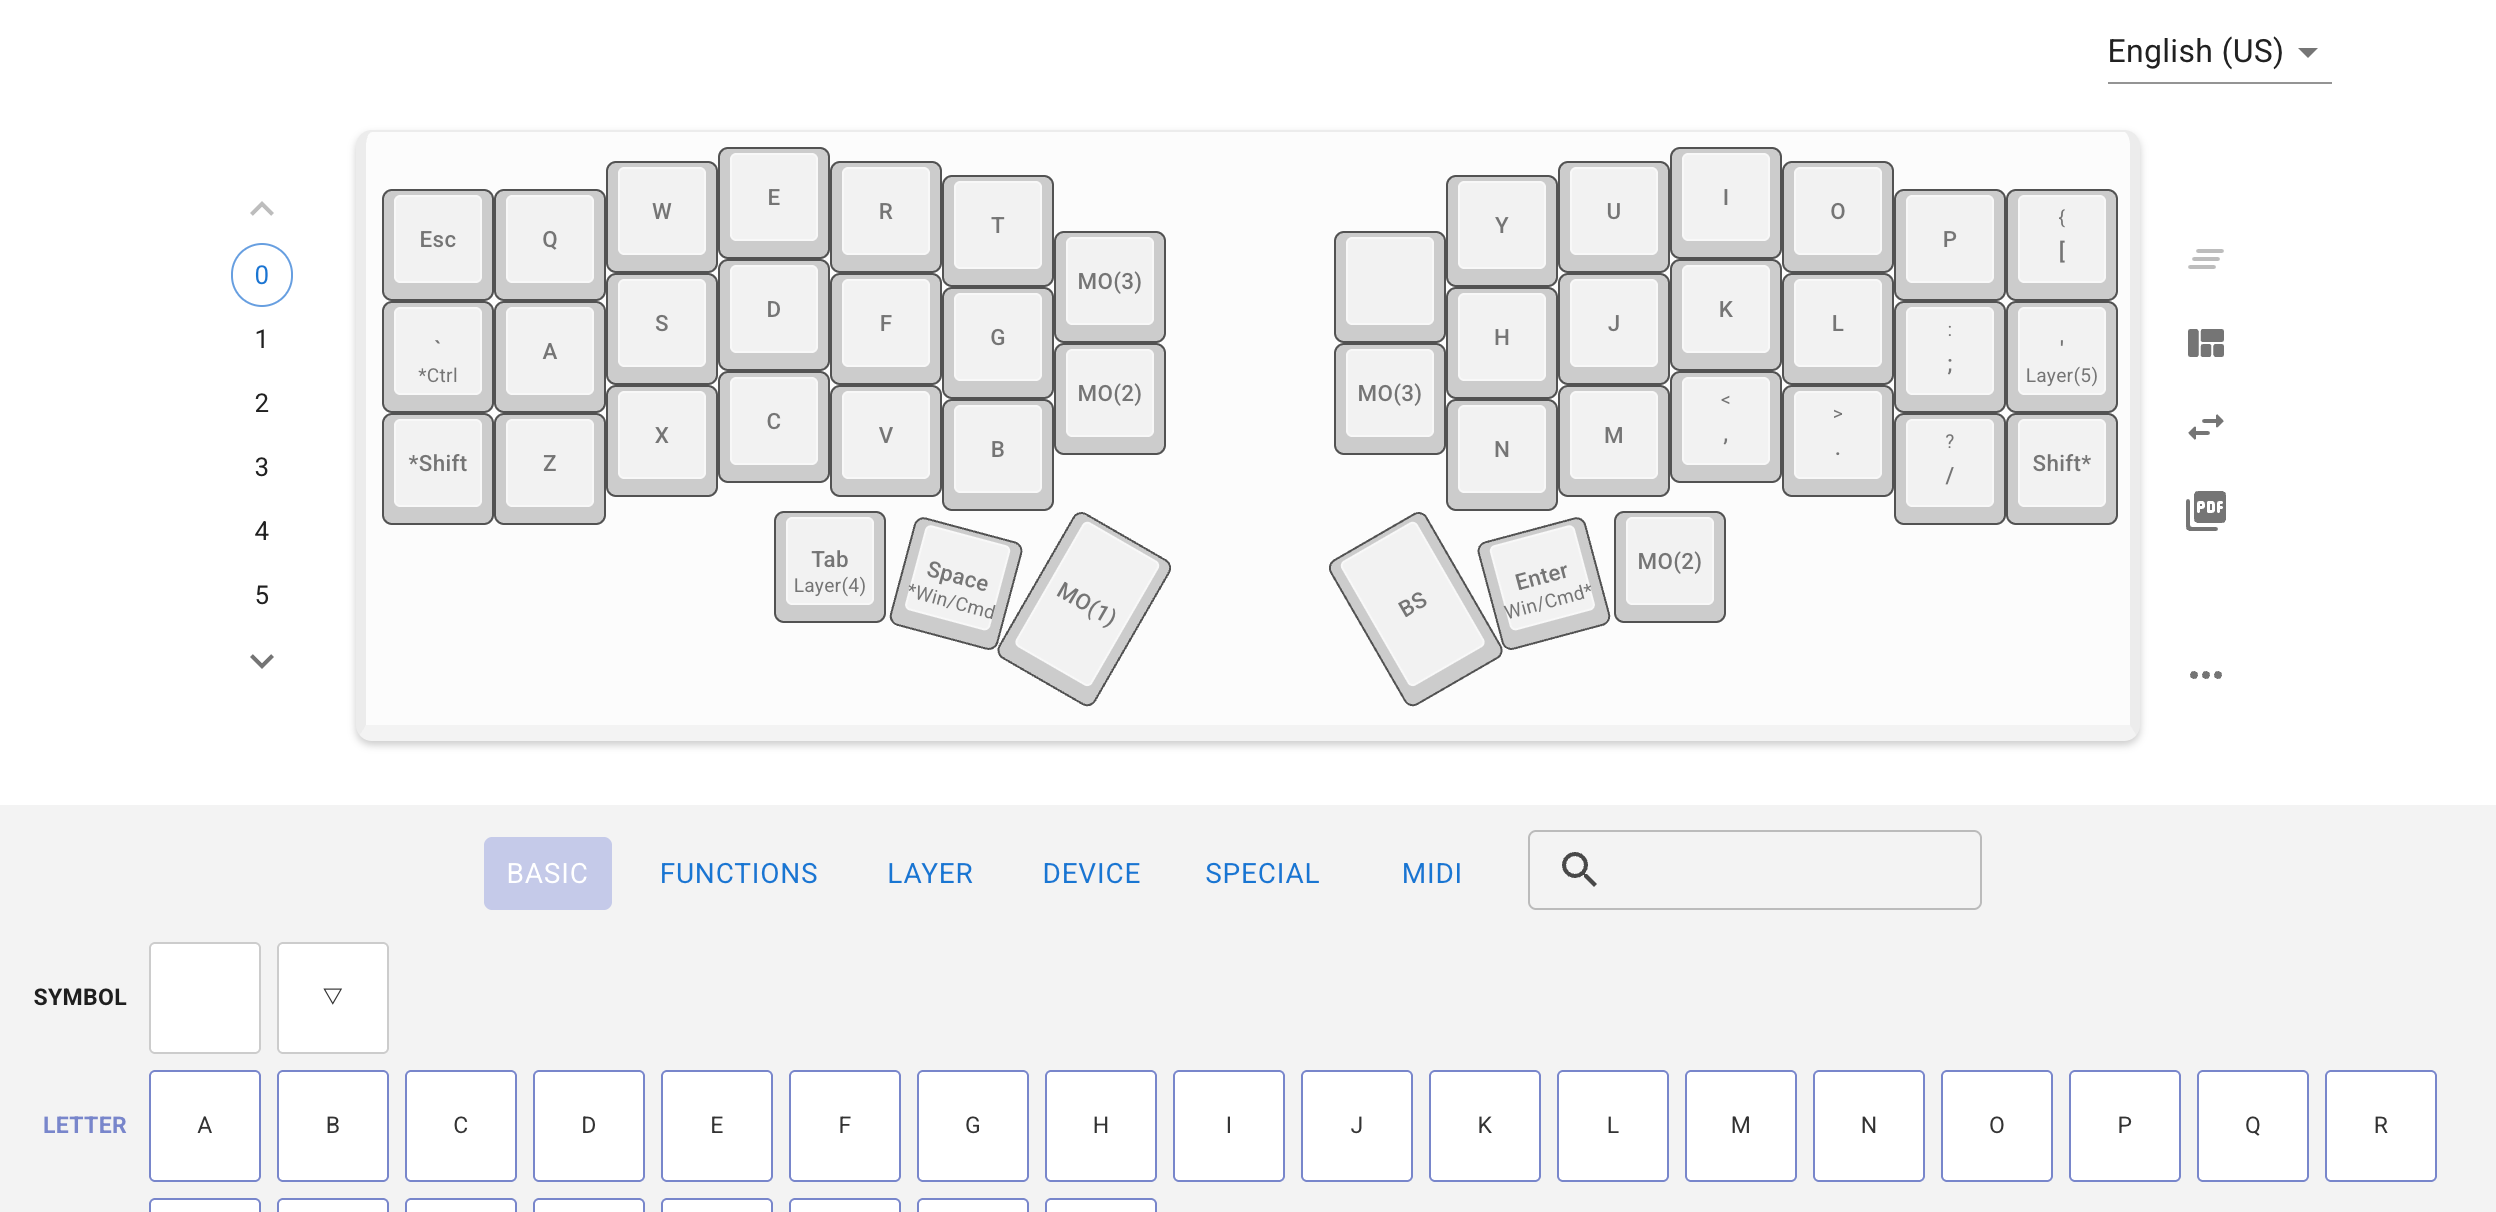
Via has an interface that’s pleasing to look at. It looks beginner friendly so you’d almost always want to begin with this.

Any key you edited in Via gets flashed to your keyboard immediately — so you can use them straight away.
That said, Via is not the best software to use if you want to create multi-function keys. Remap is a better choice for that.
However, Via is great for creating macros.
Remap
Design-wise, Remap looks like a plain functional software. It may seem like there’s nothing special about this, but it’s really good for programming multi-functional keys.

By multi-functional keys, I mean keys where you can choose to hold for an action, or tap for another action. For example, I have my Command key (held) and Space key (tap) mapped to the same key.
Remap doesn’t update your keyboard directly when you edit the interface. To flash your new keymap to your keyboard, you have to press the flash button on the top right corner.
Creating Macros
The best way to create Macros is through Via. Here’s a quick video walkthrough to help you create them.
That’s all I want to share with you today. I hope you enjoy your new Corne keyboard!
