How to structure HTML for an actual website
One of the first few major hurdles to creating an actual website if you’re just starting out getting clear how you should structure your HTML content. Today, we’re going to do a dive deep into this topic.
Understanding how to Structure HTML
You need to be familiar with two kinds of structures when writing HTML.
- The Big Picture – how blocks and wrappers are used in the website.
- Micro Details – within each block of content, what is the best way to present each group of information.
I’ll share with you how I notice and code the big picture in this article, and we can dive into the details in a followup article.
The Big Picture
When trying to understand the big picture, look at the whole website in general and try to look for places wrappers are required. Its much easier to show this with an example, so I’ll use my blog as one.
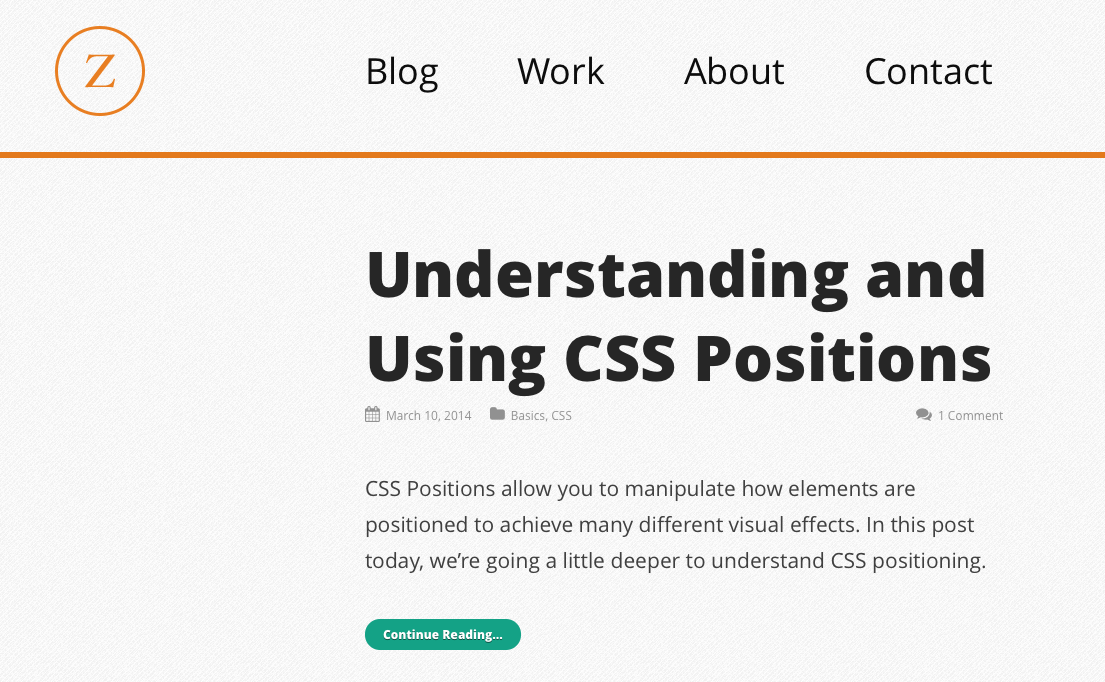
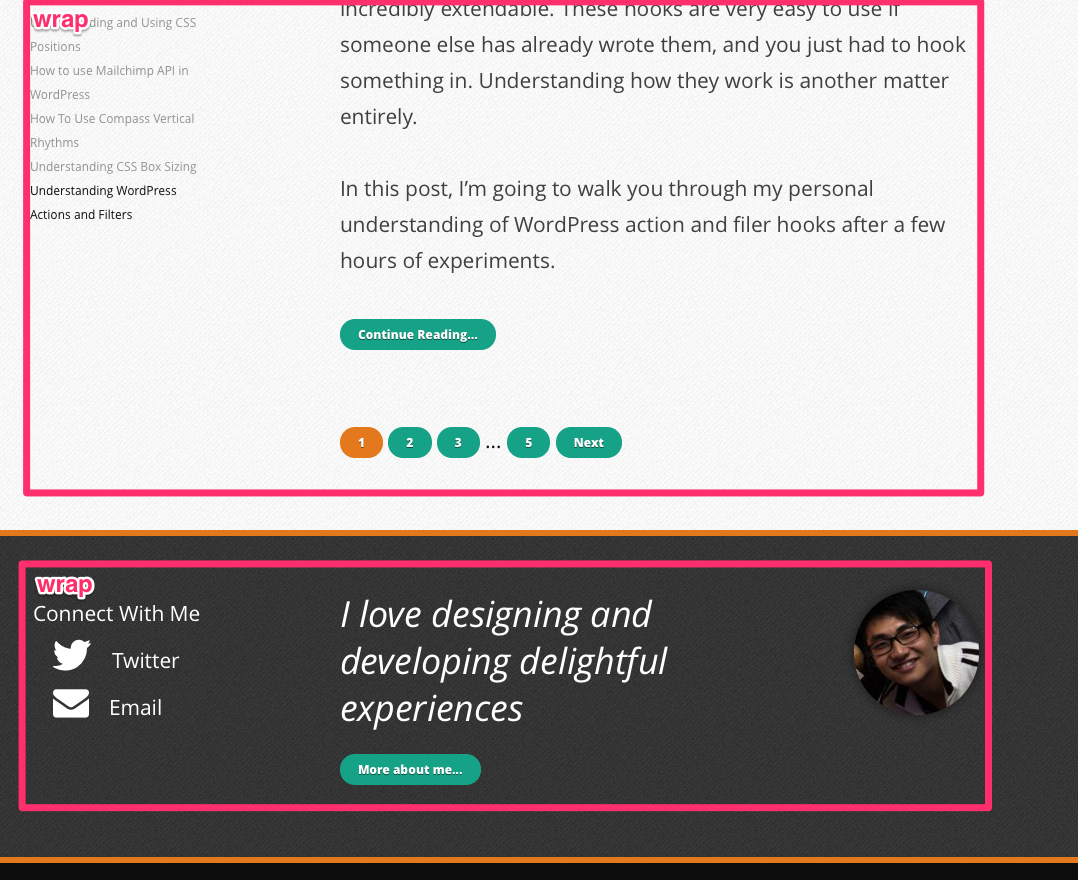
The first is an image of the top portion of my blog.
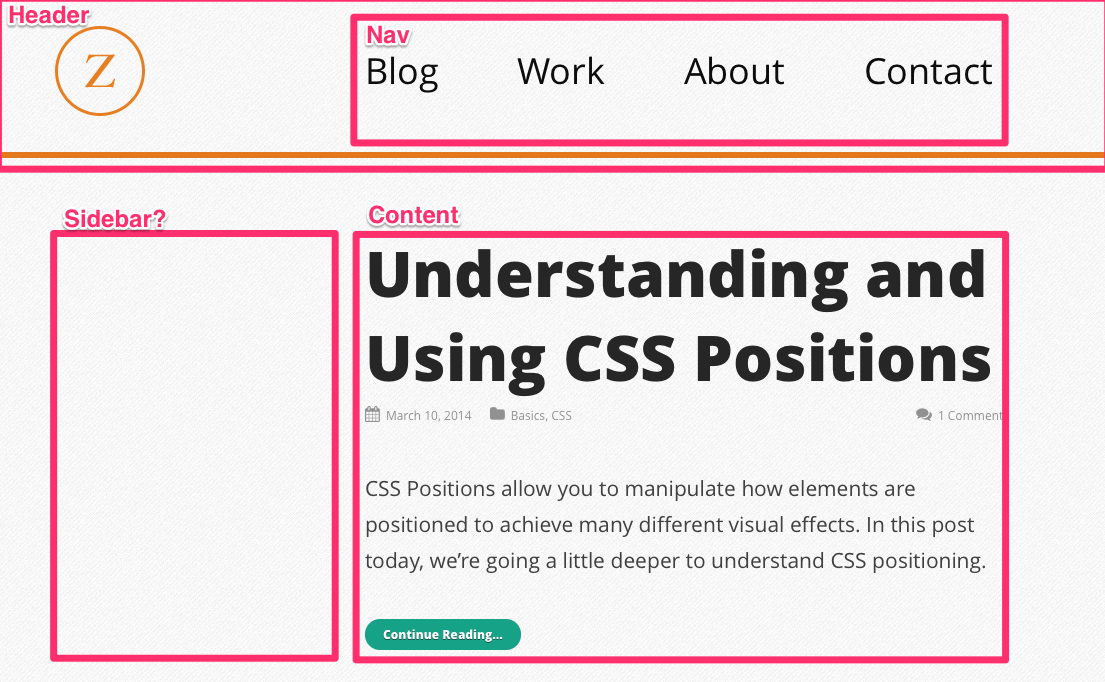
The first thing you should try to locate are the obvious areas, namely the header, content, sidebar (if there are) and footer.
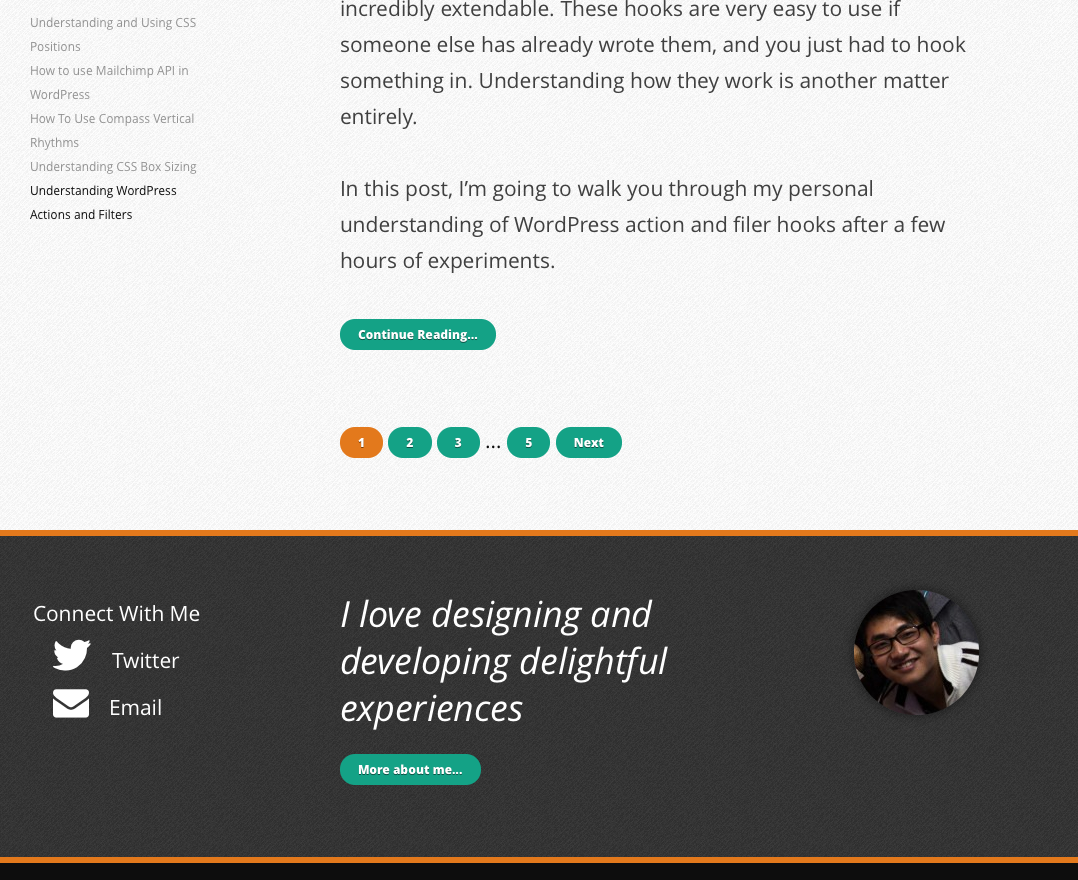
Lets do the same for the footer as well
In this case, the obvious area are as follows
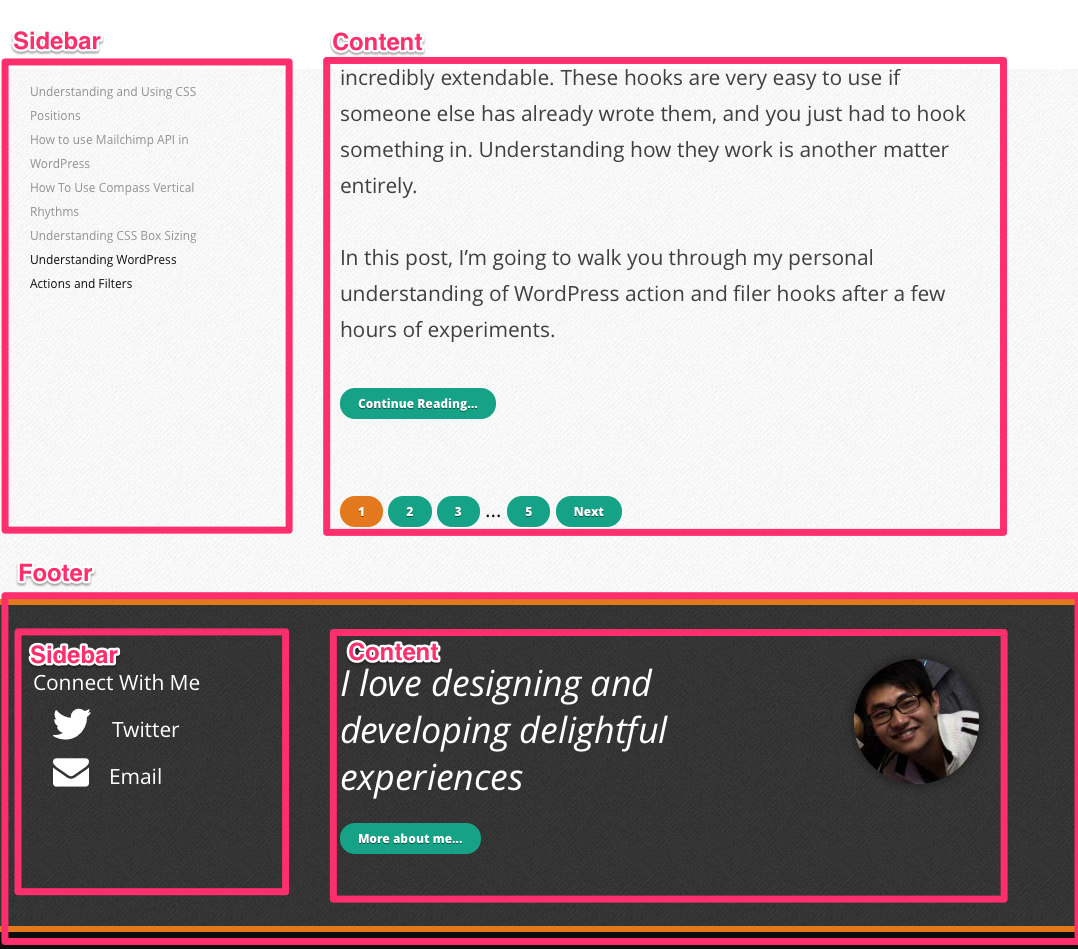
From these two images, you may have realized that there some have used similar structures (Hint: content and sidebar are two examples).
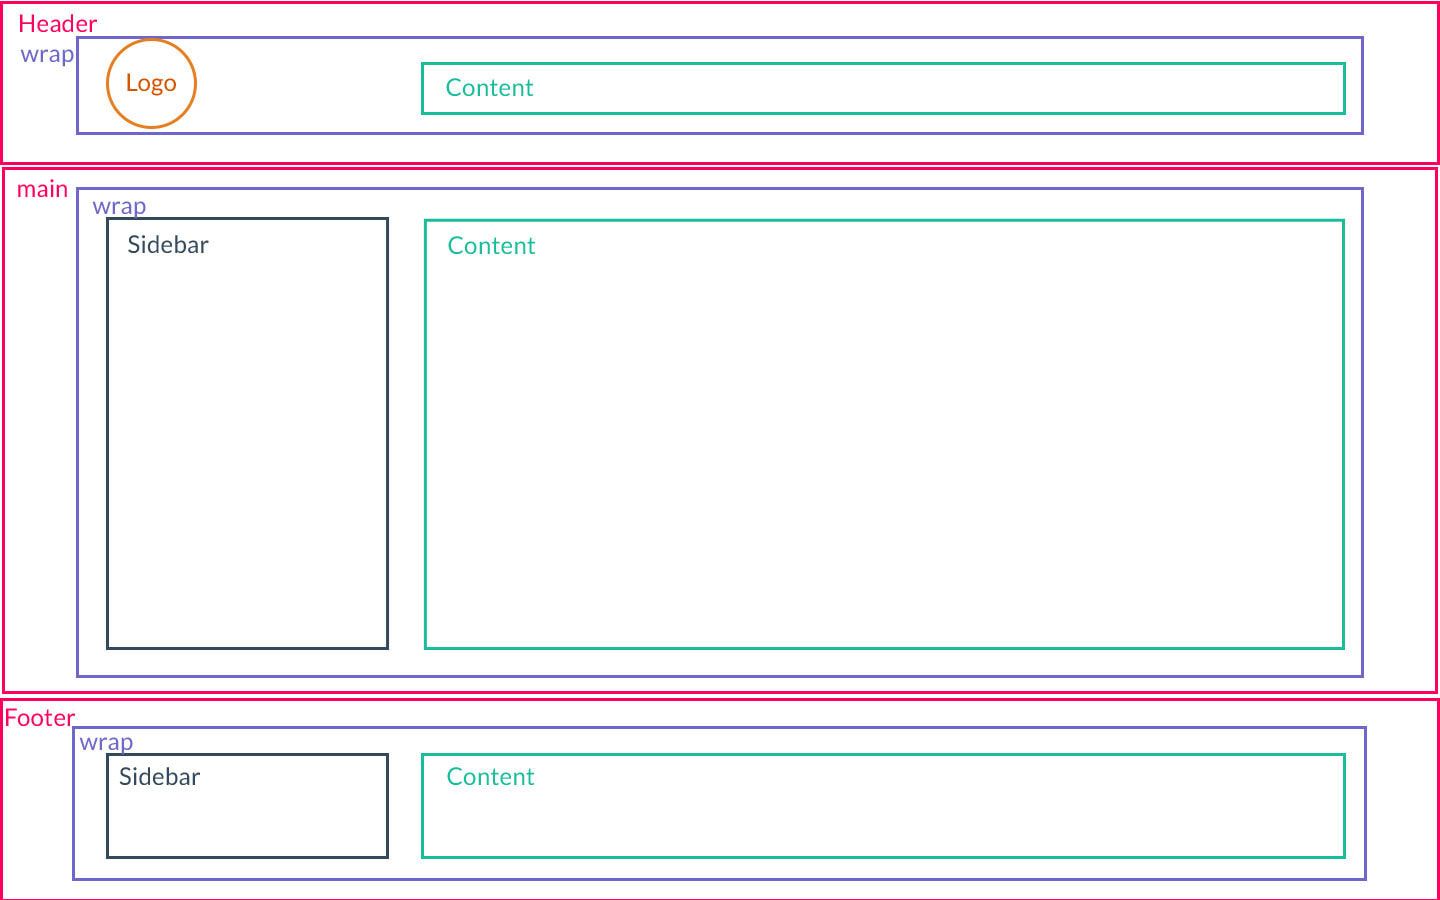
So if we put them alltogether in one image, the site would look something like this.

But, if you look closely at the structure, you’ll also realize that that is a wrapper that contains the left and right blocks, and this wrapper repeats.
So effectively, the website structure should look something like this
Writing the Code
Once you understand how the picture looks like, its incredibly simple to write the HTML. You always go from top to bottom, left to right. If there is a something within a box, you drill deeper, using the same procedure.
In this case, the Header will be
<header> <div class="wrap"> <!-- Note that I left the logo out for now, we will come to that in the next article --> <div class="content"></div> </div></header>The main area will then have the following html
<div class="main"> <div class="wrap"> <div class="sidebar"></div> <div class="content"></div> </div></div>While the footer is something like this, very similar to main
<footer> <div class="wrap"> <div class="sidebar"></div> <div class="content"></div> </div></footer>Now we have a basic structure to the website
Making the Code Better
There are a few improvements if we wanted to make the code above a little better.
- The header content area is actually a navigation, hence we should give either a nav element or a nav class
- In Main, Content should almost always be followed by sidebar. This is for responsive purposes because content is much more important. The only exception where it is okay to place sidebar above in the HTML is when there are CSS measures put in place to ensure content shows up first on mobile.
If you made the above code adjustments, what you’ll have is similar to this.
<header>  <div class="wrap">    <!-- nav class is added here -->    <div class="content nav"></div>  </div></header>
<div class="main">  <div class="wrap">    <!-- content and sidebar are swapped. They can be made to show in the order above with CSS -->    <div class="content"></div>    <div class="sidebar"></div>  </div></div>
<footer>  <div class="wrap">    <div class="sidebar"></div>    <div class="content"></div>  </div></footer>
Note: content and sidebar classes are here to help you see what these things are intuitively. You can change any of the above classes to anything you want, and it will still work.
Conclusion
I hope this gives you an insight to how you would structure the layout when you write HTML for the first time. As soon as you understand how these big picture layouts are used, CSS becomes much easier to handle.
P.S. This is a little sneak peek to a course that I’ve been cooking up recently. In the course, you will learn how to make websites from scratch, and also understand important considerations behind them. If you like this post and would like to find out more about how I can help you with my course, send me an email and we can talk more.
