How to build a calculator—part 1
This is the start of a three-part lesson about building a calculator. By the end of these three lessons, you should get a calculator that functions exactly like an iPhone calculator (without the +/- and percentage functionalities).
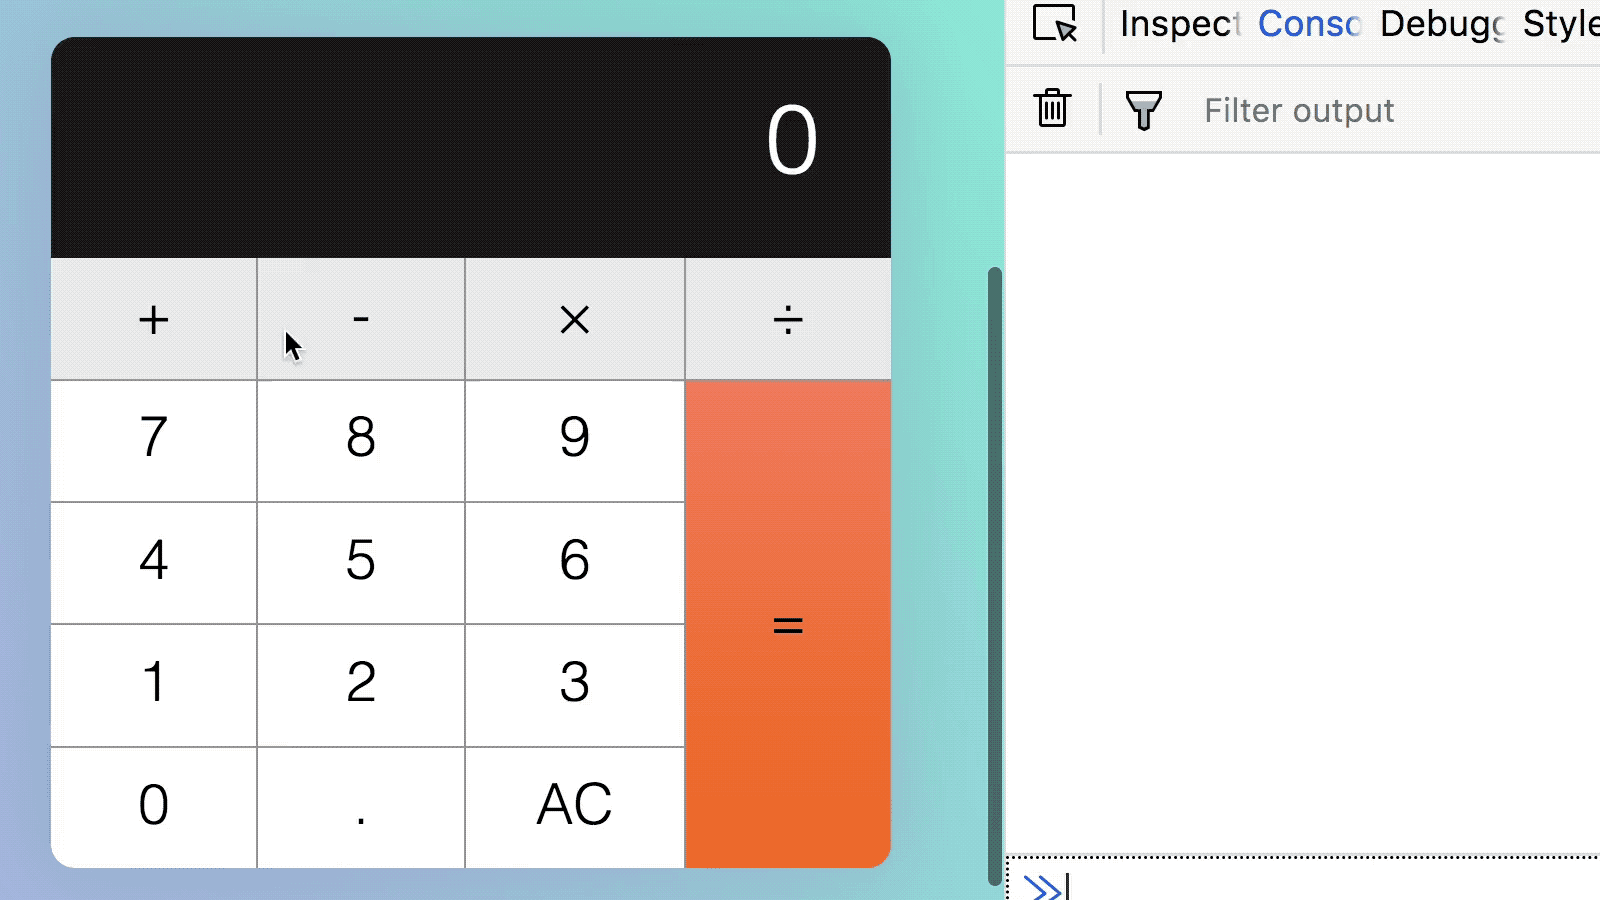
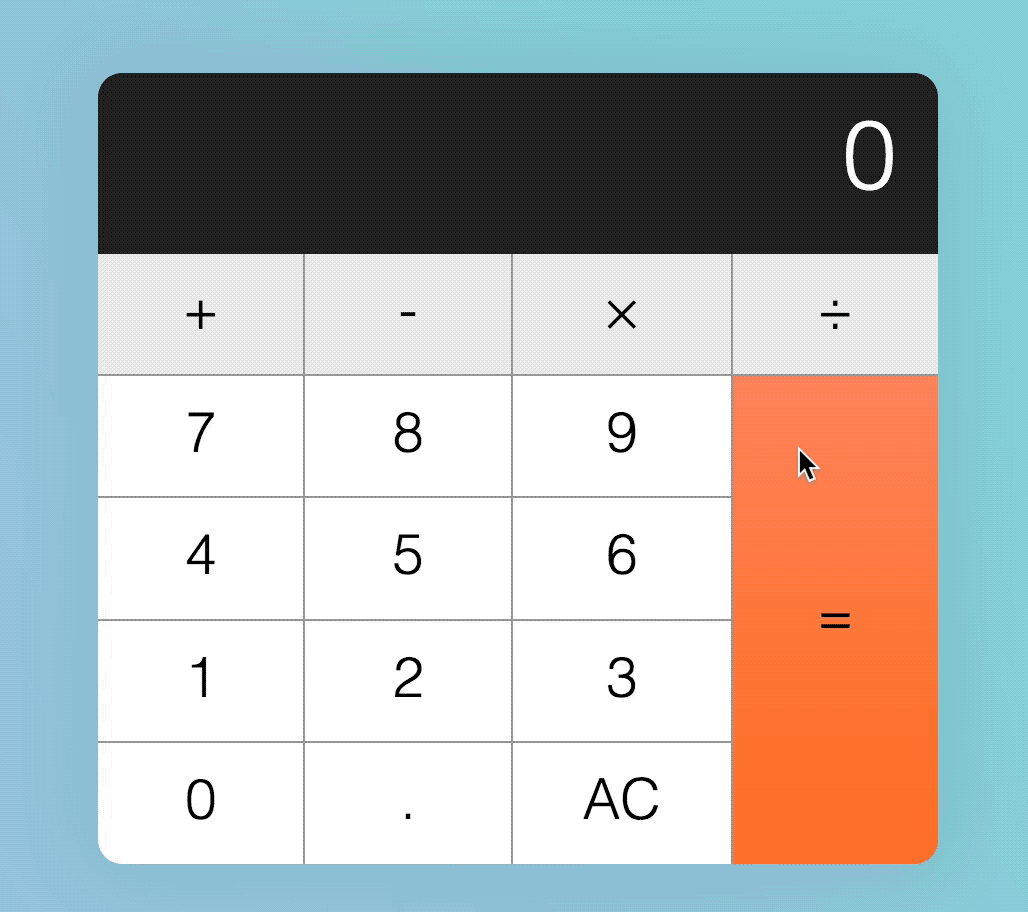
Here’s what you’ll get:

The prerequisites
Before you attempt follow through the lesson, please make sure you have decent command of JavaScript. Minimally, you need to know these things:
- If/else statements
- For loops
- JavaScript functions
- Arrow functions
&&and||operators- How to change the text with the
textContentproperty - How to add event listeners with the event delegation pattern
Note: This article is a sample lesson from Learn JavaScript—a course to help you learn JavaScript once and for all. Check it out if you love the lesson :)
Before you begin
I urge you to try and build the calculator yourself before following the lesson. It’s good practice because you’ll train yourself to think like a developer.
Come back to this lesson once you’ve tried for one hour (doesn’t matter whether you succeed or fail; when you try, you think, and that’ll help you absorb the lesson in double quick time).
With that, let’s begin by understanding how a calculator works.
Building the calculator
First, we want to build the calculator.
The calculator consist of two parts. The display and the keys.

<div class="calculator"> <div class="calculator__display">0</div> <div class="calculator__keys">...</div></div>We can use CSS Grid to make the keys since they’re arranged in a grid-like format. This has already been done for you in the starter file. You can find the starter file at this pen.
.calculator__keys { display: grid; /* other necessary CSS */}To help us identify operator, decimal, clear and equal keys, we’re going to supply a data-action attribute that describes what they do.
<div class="calculator__keys"> <button class="key--operator" data-action="add">+</button> <button class="key--operator" data-action="subtract">-</button> <button class="key--operator" data-action="multiply">×</button> <button class="key--operator" data-action="divide">÷</button> <button>7</button> <button>8</button> <button>9</button> <button>4</button> <button>5</button> <button>6</button> <button>1</button> <button>2</button> <button>3</button> <button>0</button> <button data-action="decimal">.</button> <button data-action="clear">AC</button> <button class="key--equal" data-action="calculate">=</button></div>Listening to key-presses
Five things can happen when a person gets hold of a calculator:
- They hit a number key (0-9)
- They hit an operator key (+, -, ×, ÷)
- They hit the decimal key
- They hit the equal key
- They hit the clear key
The first step to building this calculator is to be able to (1) listen for all keypresses and (2) determine the type of key that pressed. In this case, we can use an event delegation pattern to listen since keys are all children of .calculator__keys.
const calculator = document.querySelector('.calculator')const keys = calculator.querySelector('.calculator__keys')
keys.addEventListener('click', e => {  if (e.target.matches('button')) {    // Do something  }})
Next, we can use the data-action attribute to determine the type of key that is clicked.
const key = e.targetconst action = key.dataset.actionIf the key does not have a data-action attribute, it must be a number key.
if (!action) { console.log('number key!')}If the key has a data-action that is either add, subtract, multiply or divide, we know the key is an operator.
if ( action === 'add' || action === 'subtract' || action === 'multiply' || action === 'divide') { console.log('operator key!')}If the key’s data-action is decimal, we know the user clicked on the decimal key. Following the same thought process, if the key’s data-action is clear, we know the user clicked on the clear (the one that says AC) key; if the key’s data-action is calculate, we know the user clicked on the equal key.
if (action === 'decimal') {  console.log('decimal key!')}
if (action === 'clear') {  console.log('clear key!')}
if (action === 'calculate') {  console.log('equal key!')}
At this point, you should get a console.log response from every calculator key.
Building the happy path
When a user picks up the calculator, they can click on any of these five types of keys:
- a number key (0-9)
- an operator key (+, -, ×, ÷)
- the decimal key
- the equal key
- the clear key
It can be overwhelming to consider five types of keys at once, so let’s take it step by step and consider what a normal person would do when they pick up a calculator. This “what a normal person would do” is called the happy path.
Let’s call our normal person Mary.
When Mary picks up a calculator, she’ll probably hit a number key at first.
When a user hits a number key
At this point, if the calculator shows 0 (the default number), the target number should replace zero.
If the calculator shows a non-zero number, the target number should be appended to the displayed number.

Here, we need to know two things:
- The number of the key that was clicked
- The current displayed number
We can get these two values through the textContent property of the clicked key and .calculator__display respectively.
const display = document.querySelector('.calculator__display')
keys.addEventListener('click', e => {  if (e.target.matches('button')) {    const key = e.target    const action = key.dataset.action    const keyContent = key.textContent    const displayedNum = display.textContent    // ...  }})
If the calculator shows 0, we want to replace the calculator’s display with the textContent of the clicked key. We can do so by replacing the display’s textContent property.
if (!action) { if (displayedNum === '0') { display.textContent = keyContent }}If the calculator shows a non-zero number, we want to append the clicked key to the displayed number. To append a number, we concatenate a string.
if (!action) { if (displayedNum === '0') { display.textContent = keyContent } else { display.textContent = displayedNum + keyContent }}At this point, Mary may click either of these keys:
- A decimal key
- An operator key
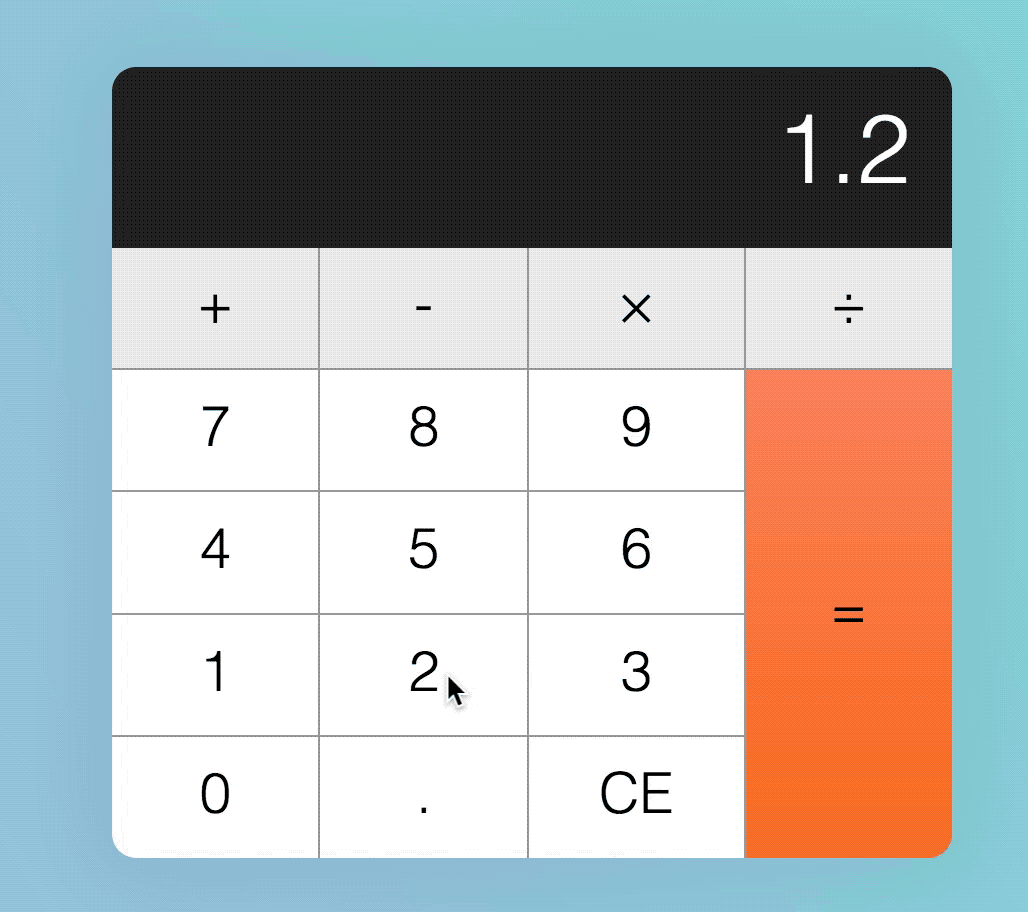
Let’s say Mary hits the decimal key.
When a user hits the decimal key
When Mary hits the decimal key, a decimal should appear on the display. If Mary hits any number after hitting a decimal key, the number should be appended on the display as well.

To create this effect, we can concatenate . to the displayed number.
if (action === 'decimal') { display.textContent = displayedNum + '.'}Next, let’s say Mary continues her calculation by hitting an operator key.
When a user hits an operator key
If Mary hits an operator key, the operator should be highlighted so Mary knows the operator is active.
To do so, we can add the is-depressed class to the operator key.
if ( action === 'add' || action === 'subtract' || action === 'multiply' || action === 'divide') { key.classList.add('is-depressed')}Once Mary has hit an operator key, she’ll hit another number key.
When a user hits a number key after an operator key
When Mary hits a number key again, the previous display should be replaced with the new number. The operator key should also release it’s pressed state.

To release the pressed state, we remove the is-depressed class from all keys through a forEach loop:
keys.addEventListener('click', e => {  if (e.target.matches('button')) {    const key = e.target    // ...
    // Remove .is-depressed class from all keys    Array.from(key.parentNode.children).forEach(k =>      k.classList.remove('is-depressed'),    )  }})
Next, we want to update the display to the clicked key. Before we do this, we need a way to tell if the previous key is an operator key.
One way to do this is through a custom attribute. Let’s call this custom attribute data-previous-key-type.
const calculator = document.querySelector('.calculator')// ...
keys.addEventListener('click', e => {  if (e.target.matches('button')) {    // ...
    if (      action === 'add' ||      action === 'subtract' ||      action === 'multiply' ||      action === 'divide'    ) {      key.classList.add('is-depressed')      // Add custom attribute      calculator.dataset.previousKeyType = 'operator'    }  }})
If the previousKeyType is an operator, we want to replace the displayed number with clicked number.
const previousKeyType = calculator.dataset.previousKeyType
if (!action) {  if (displayedNum === '0' || previousKeyType === 'operator') {    display.textContent = keyContent  } else {    display.textContent = displayedNum + keyContent  }}
Next, let’s say Mary decides to complete her calculation by hitting the equal key.
When a user hits the equal key
When Mary hits the equal key, the calculator should calculate a result that depends on three values:
- The first number entered into the calculator
- The operator
- The second number entered into the calculator
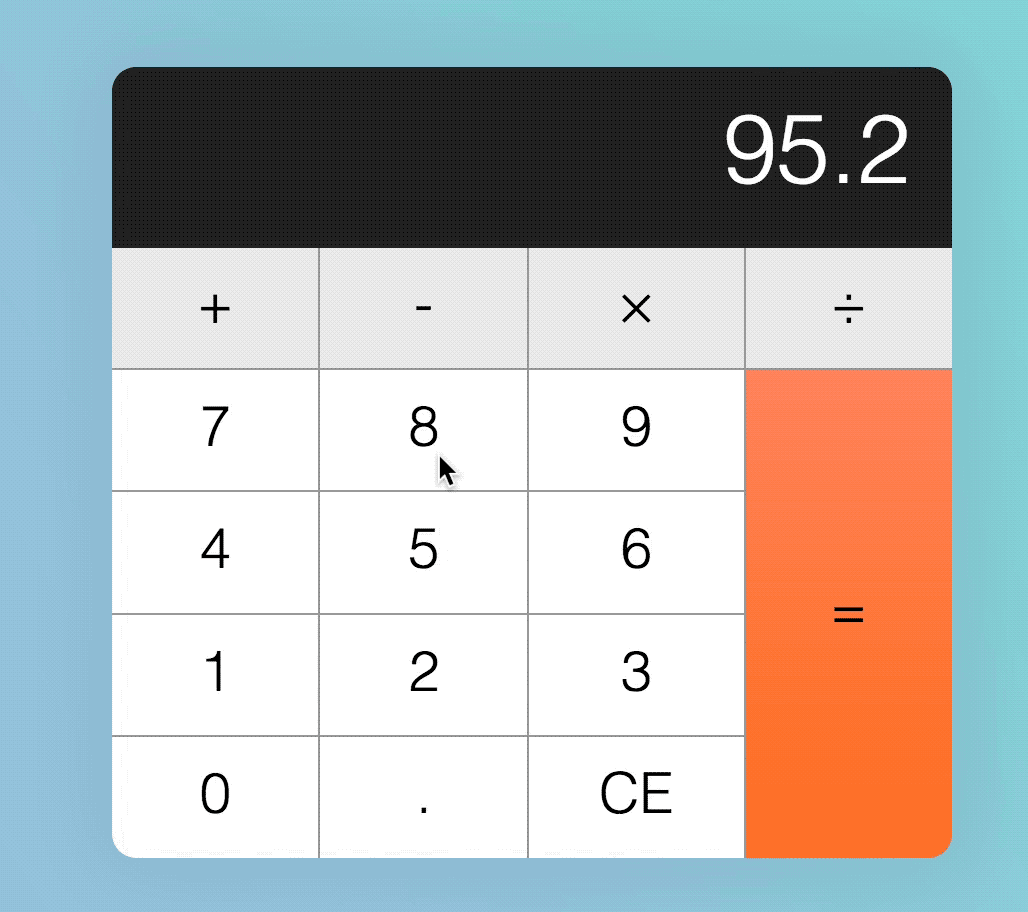
After the calculation, the result should replace the displayed value.
At this point, we only know the second number—the currently displayed number.
if (action === 'calculate') { const secondValue = displayedNum // ...}To get the first number, we need to store the calculator’s displayed value before we erase it. One way to save this first number is to add it to a custom attribute when the operator button gets clicked.
To get the operator, we can also use the same technique.
if ( action === 'add' || action === 'subtract' || action === 'multiply' || action === 'divide') { // ... calculator.dataset.firstValue = displayedNum calculator.dataset.operator = action}Once we have the three values we need, we can perform a calculation. Eventually, we want code to look something like this:
if (action === 'calculate') {  const firstValue = calculator.dataset.firstValue  const operator = calculator.dataset.operator  const secondValue = displayedNum
  display.textContent = calculate(firstValue, operator, secondValue)}
That means we need to create a calculate function. It should take in three parameters—the first number, the operator, and the second number.
const calculate = (n1, operator, n2) => { // Perform calculation and return calculated value}If the operator is add, we want to add values together; if the operator is subtract, we want to subtract the values, and so on.
const calculate = (n1, operator, n2) => {  let result = ''
  if (operator === 'add') {    result = n1 + n2  } else if (operator === 'subtract') {    result = n1 - n2  } else if (operator === 'multiply') {    result = n1 * n2  } else if (operator === 'divide') {    result = n1 / n2  }
  return result}
Remember that firstValue and secondValue are strings at this point. If you add strings together, you’ll concatenate them (1 + 1 = 11).
So, before calculating the result, we want to convert strings to numbers. We can do so with two functions—parseInt and parseFloat.
parseIntconverts a string into an integer.parseFloatconverts a string into a float (this means a number with decimal places).
For a calculator, we need a float.
const calculate = (n1, operator, n2) => {  let result = ''
  if (operator === 'add') {    result = parseFloat(n1) + parseFloat(n2)  } else if (operator === 'subtract') {    result = parseFloat(n1) - parseFloat(n2)  } else if (operator === 'multiply') {    result = parseFloat(n1) * parseFloat(n2)  } else if (operator === 'divide') {    result = parseFloat(n1) / parseFloat(n2)  }
  return result}
Wrapping up
That’s it; we’re done constructing the happy path! 😄
But we’re not done building the calculator yet. This is because users tend to veer away from happy paths in reality.
So, when you any application, you want to make sure you cater for common edge cases that may happen. You’ll learn how to do this in the next lesson.
I hope you enjoyed this article. If you did, you’ll want to check out Learn JavaScript—a course to help you learn JavaScript once and for all.
